


| « New Spook Central Shop Officially Opens | DeAgostini Fanhome Ghostbusters Ecto-1 Model Subscription - Build Photo Diary, Part 6 of 7 » |
DeAgostini Fanhome Ghostbusters Ecto-1 Model Subscription - Build Photo Diary, Part 7 of 7

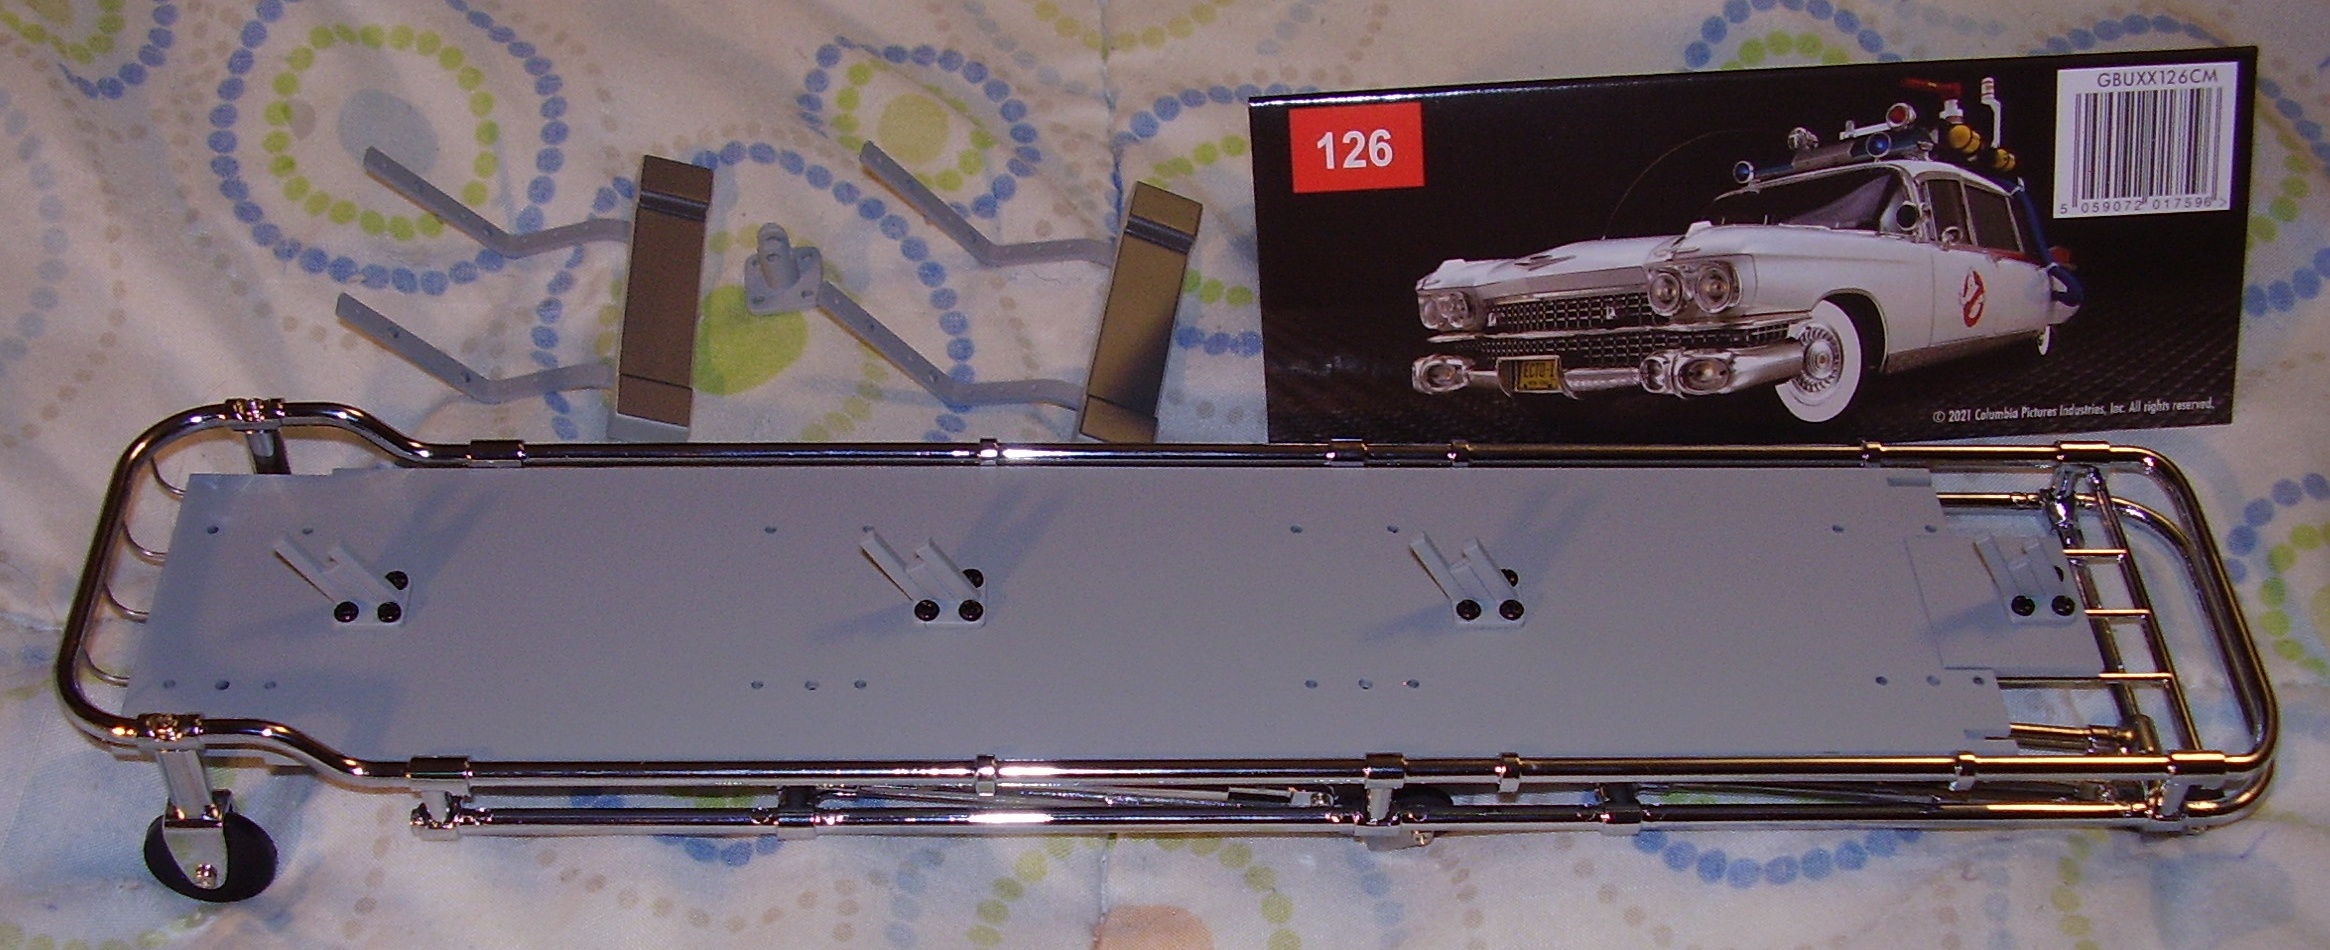
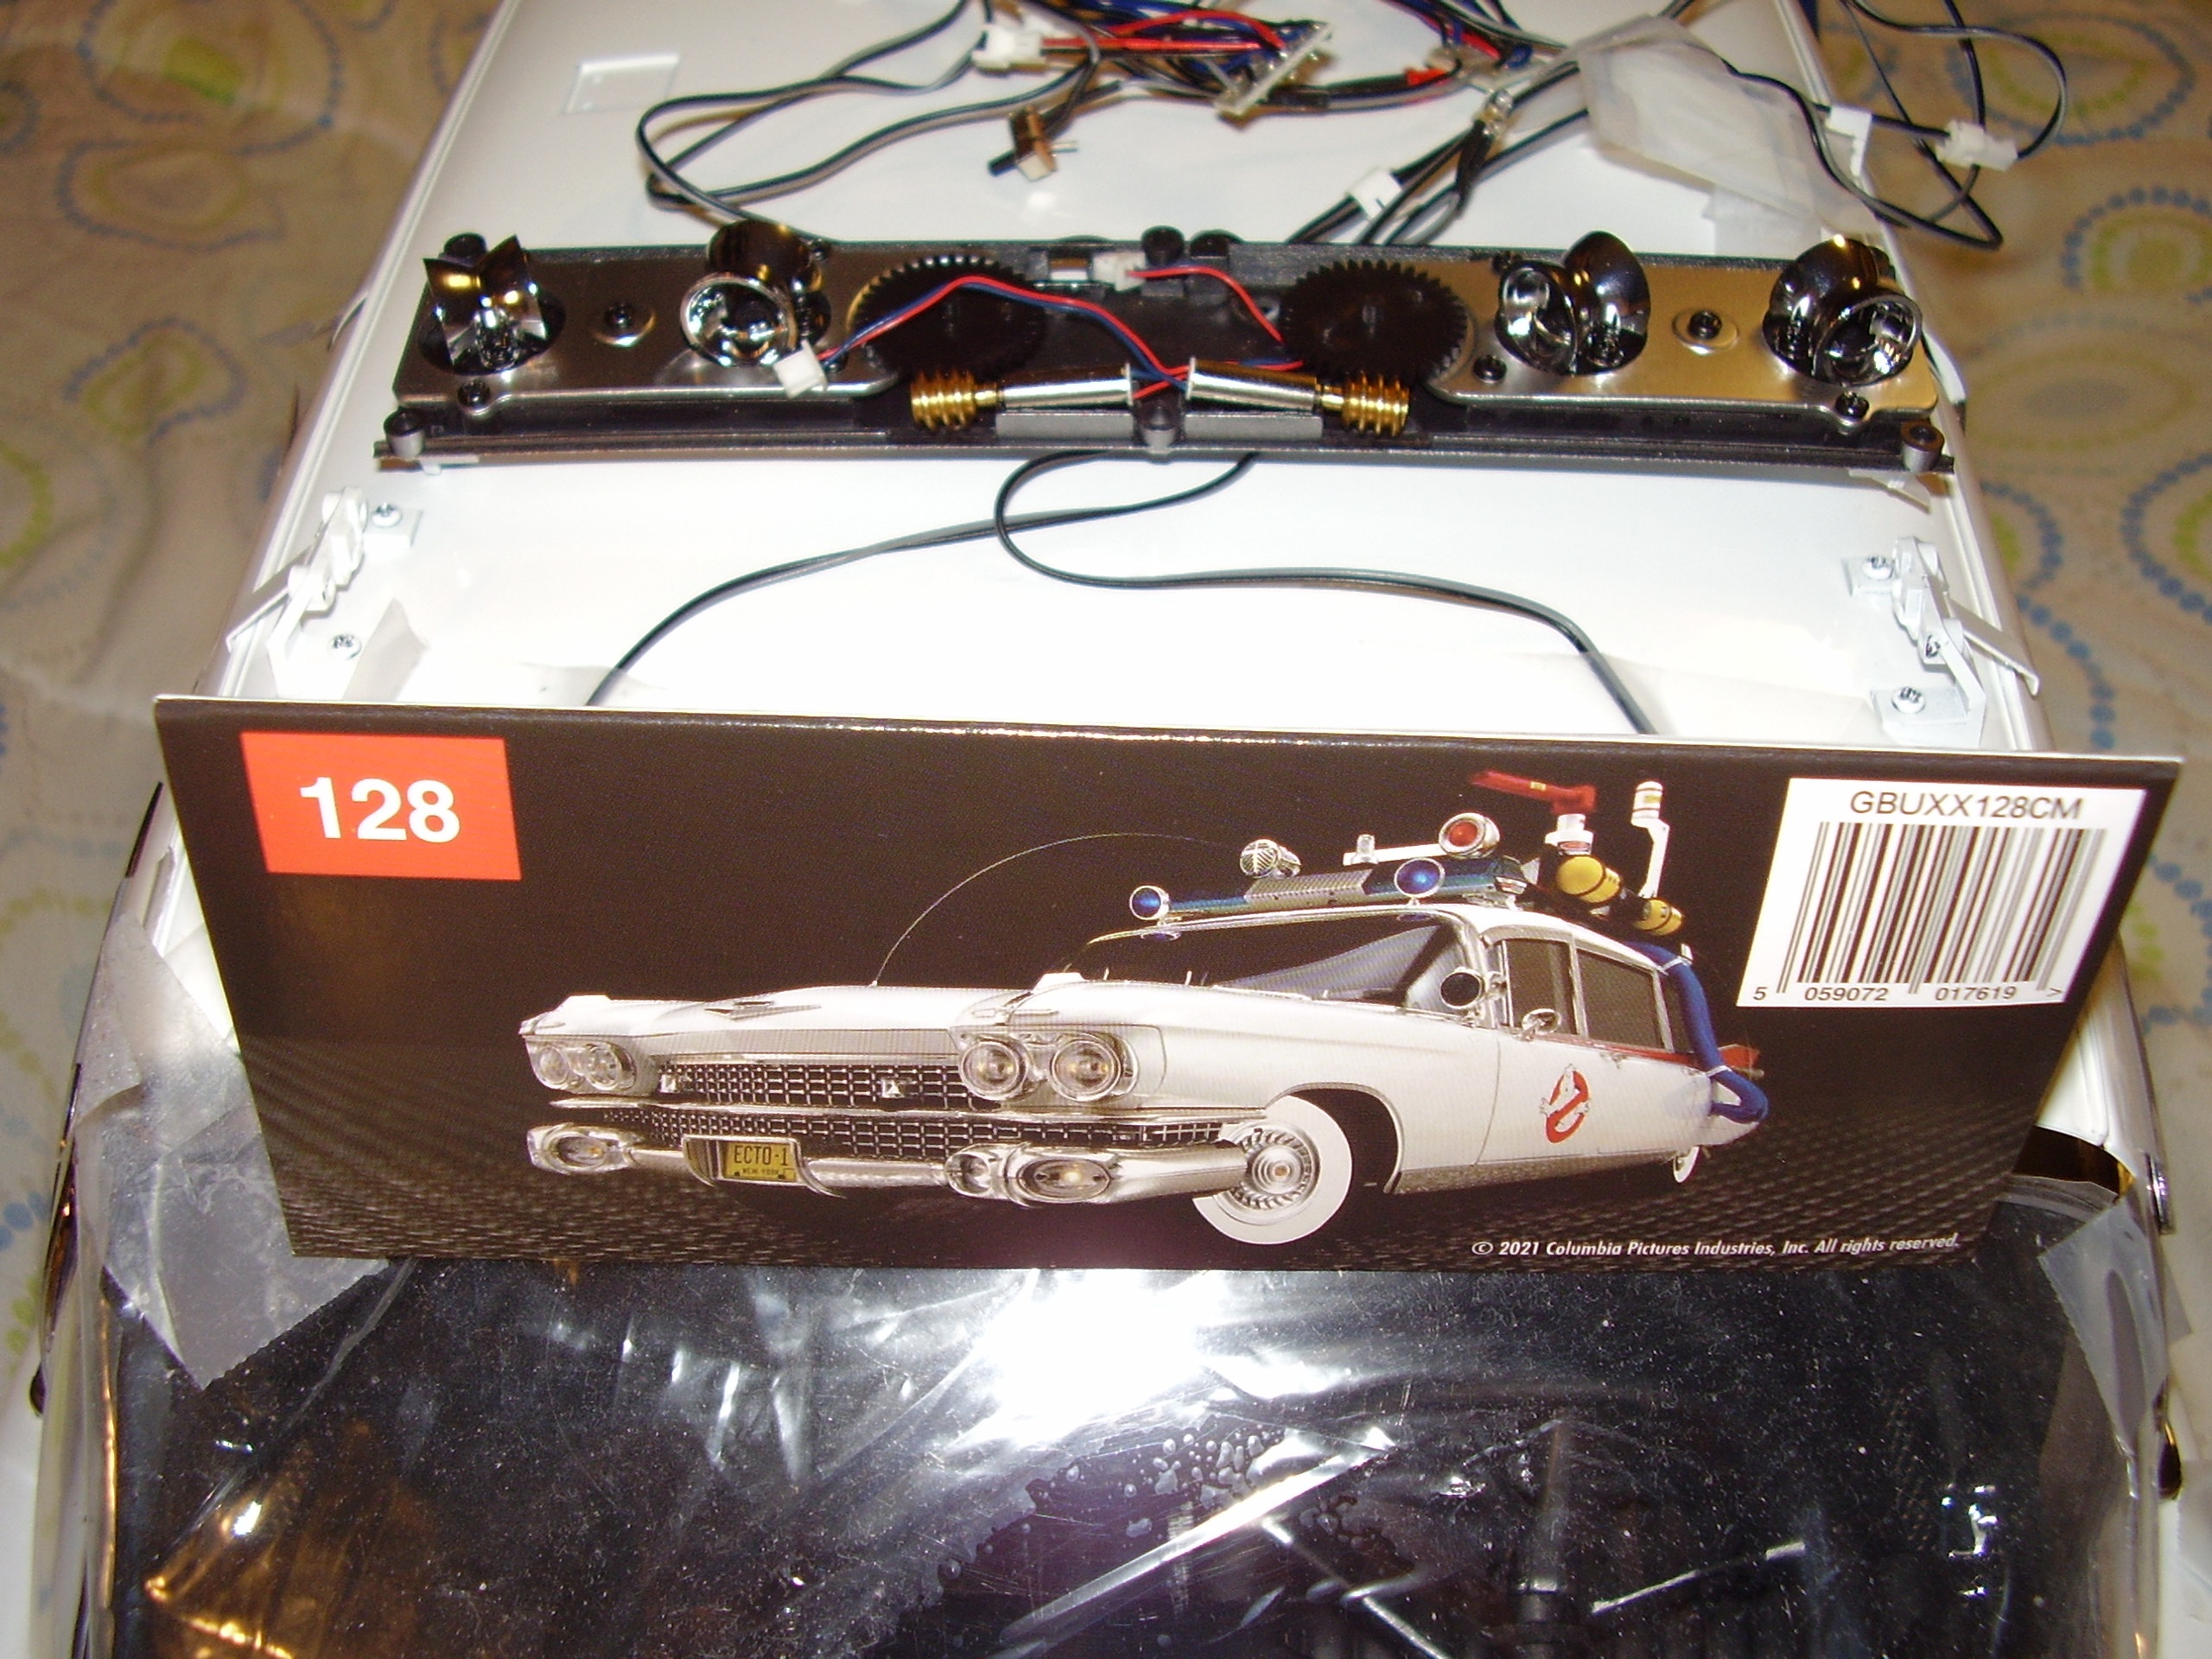
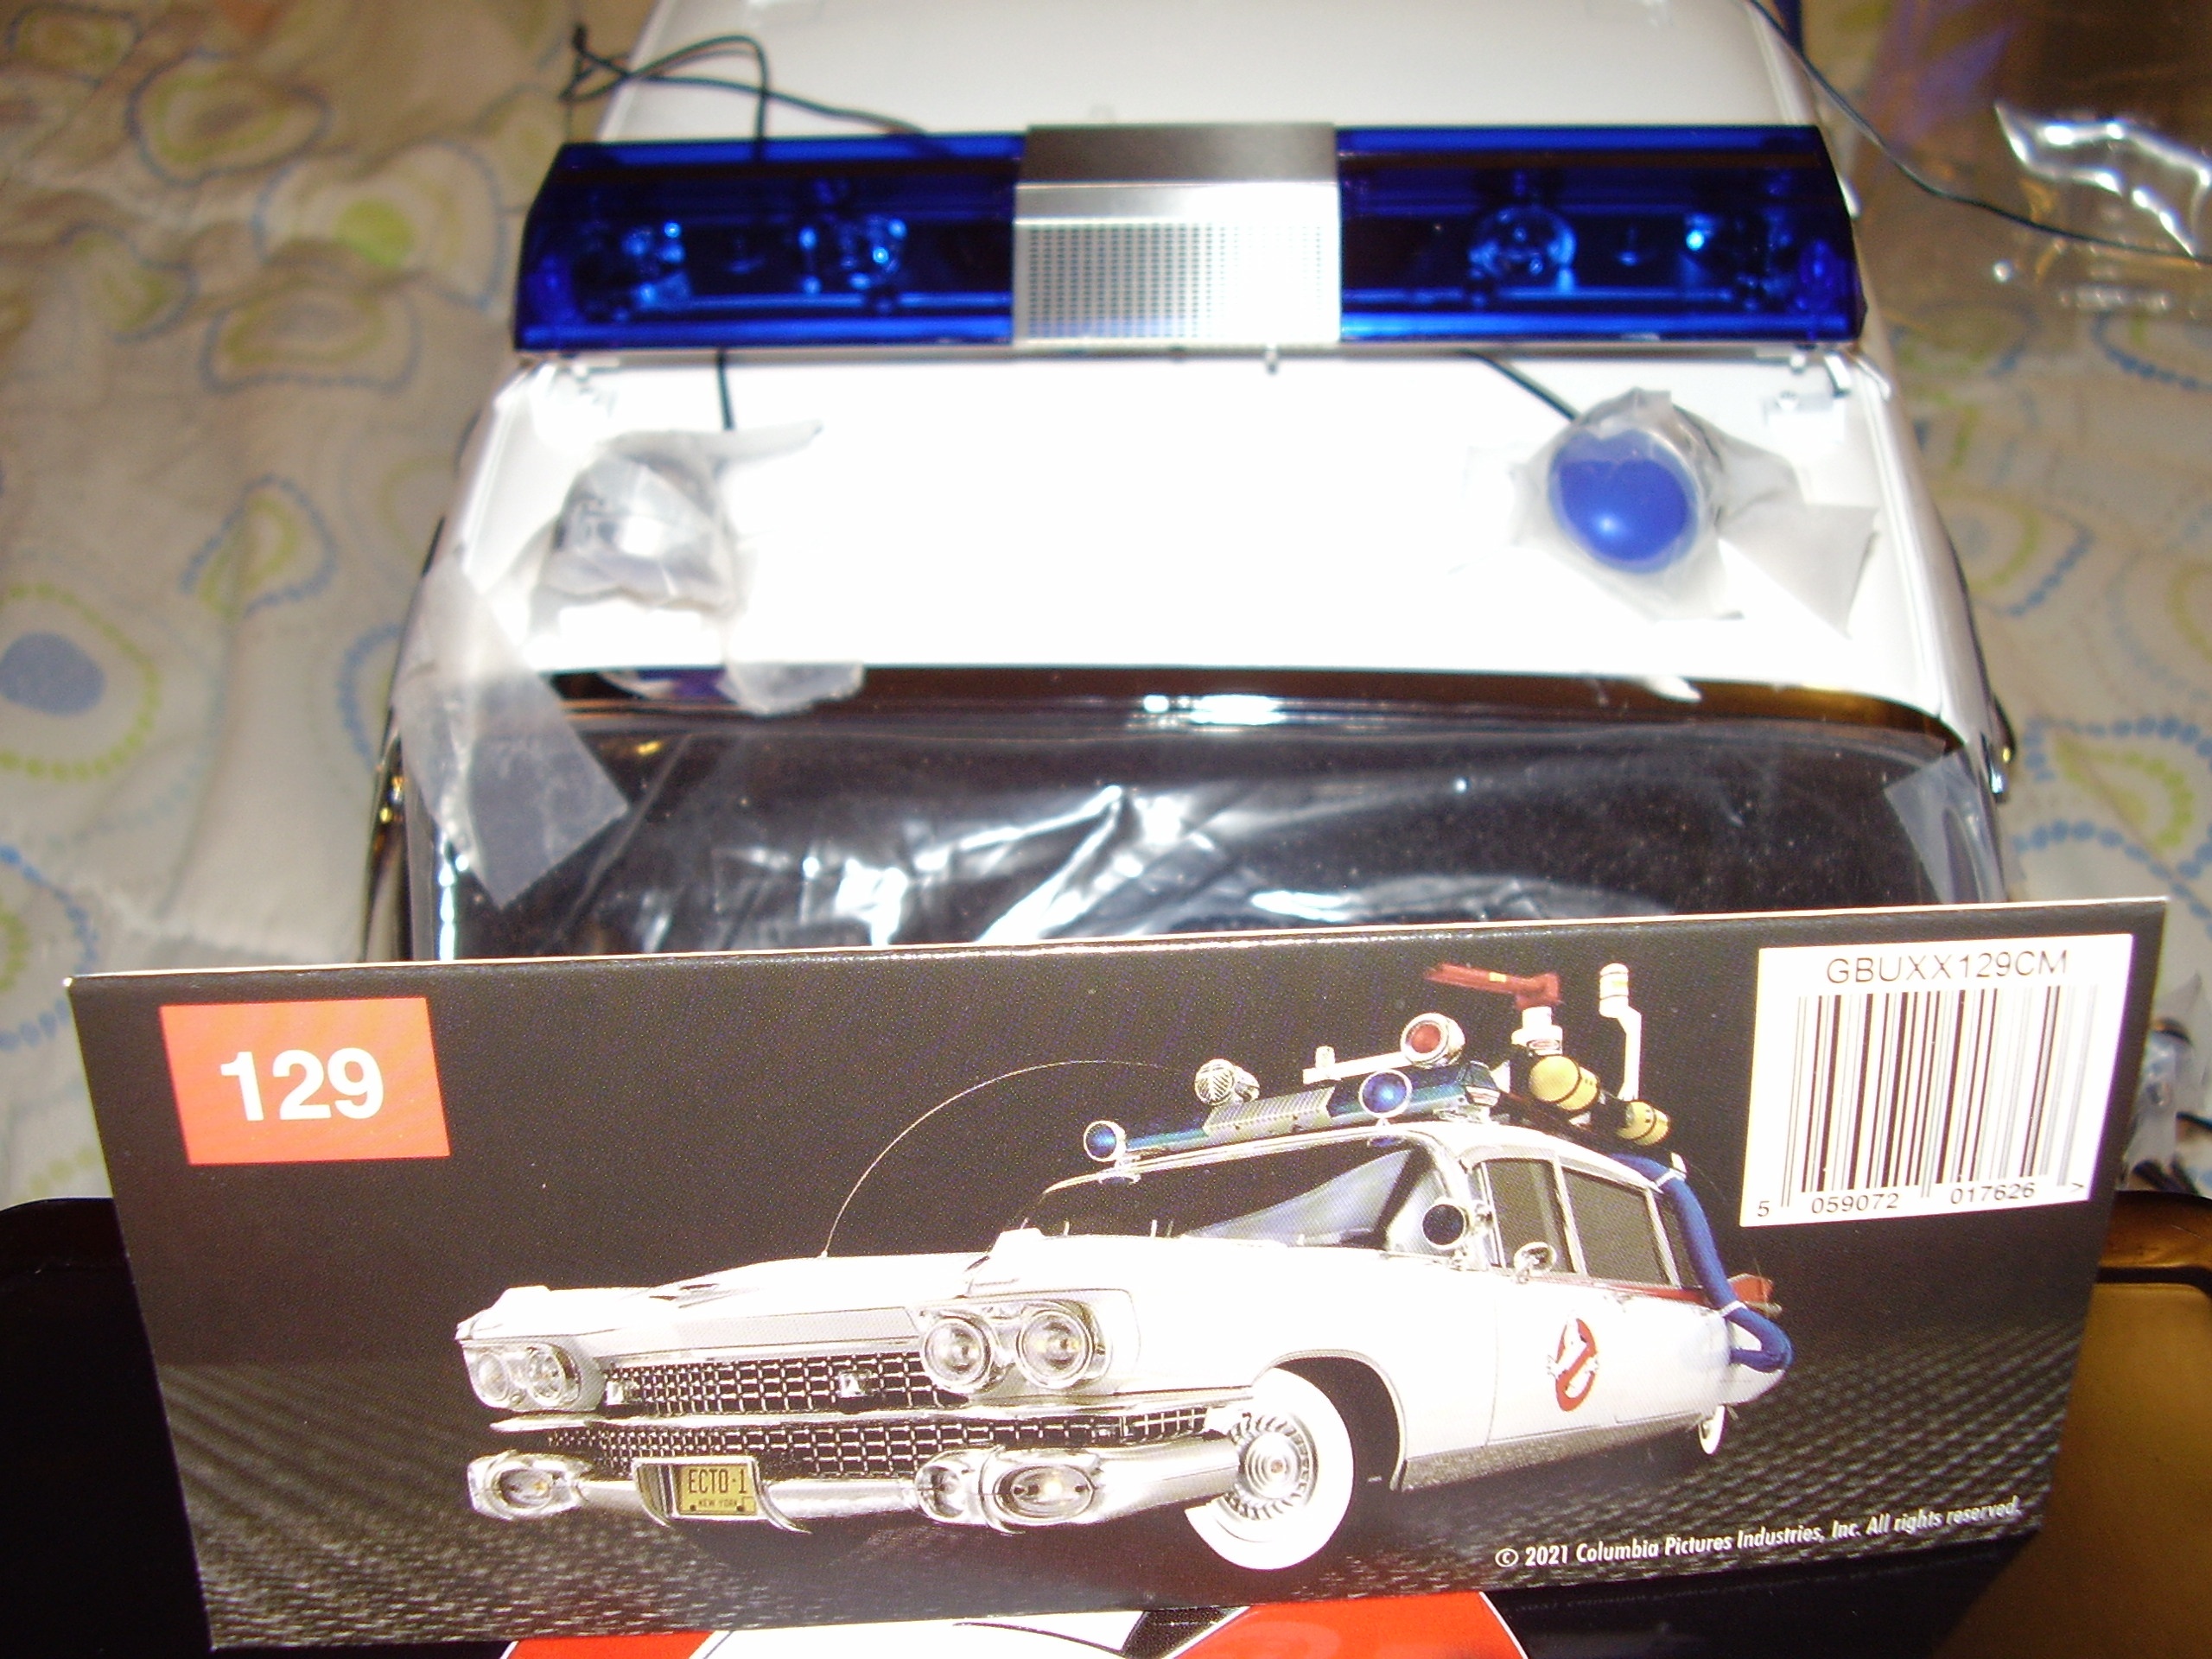
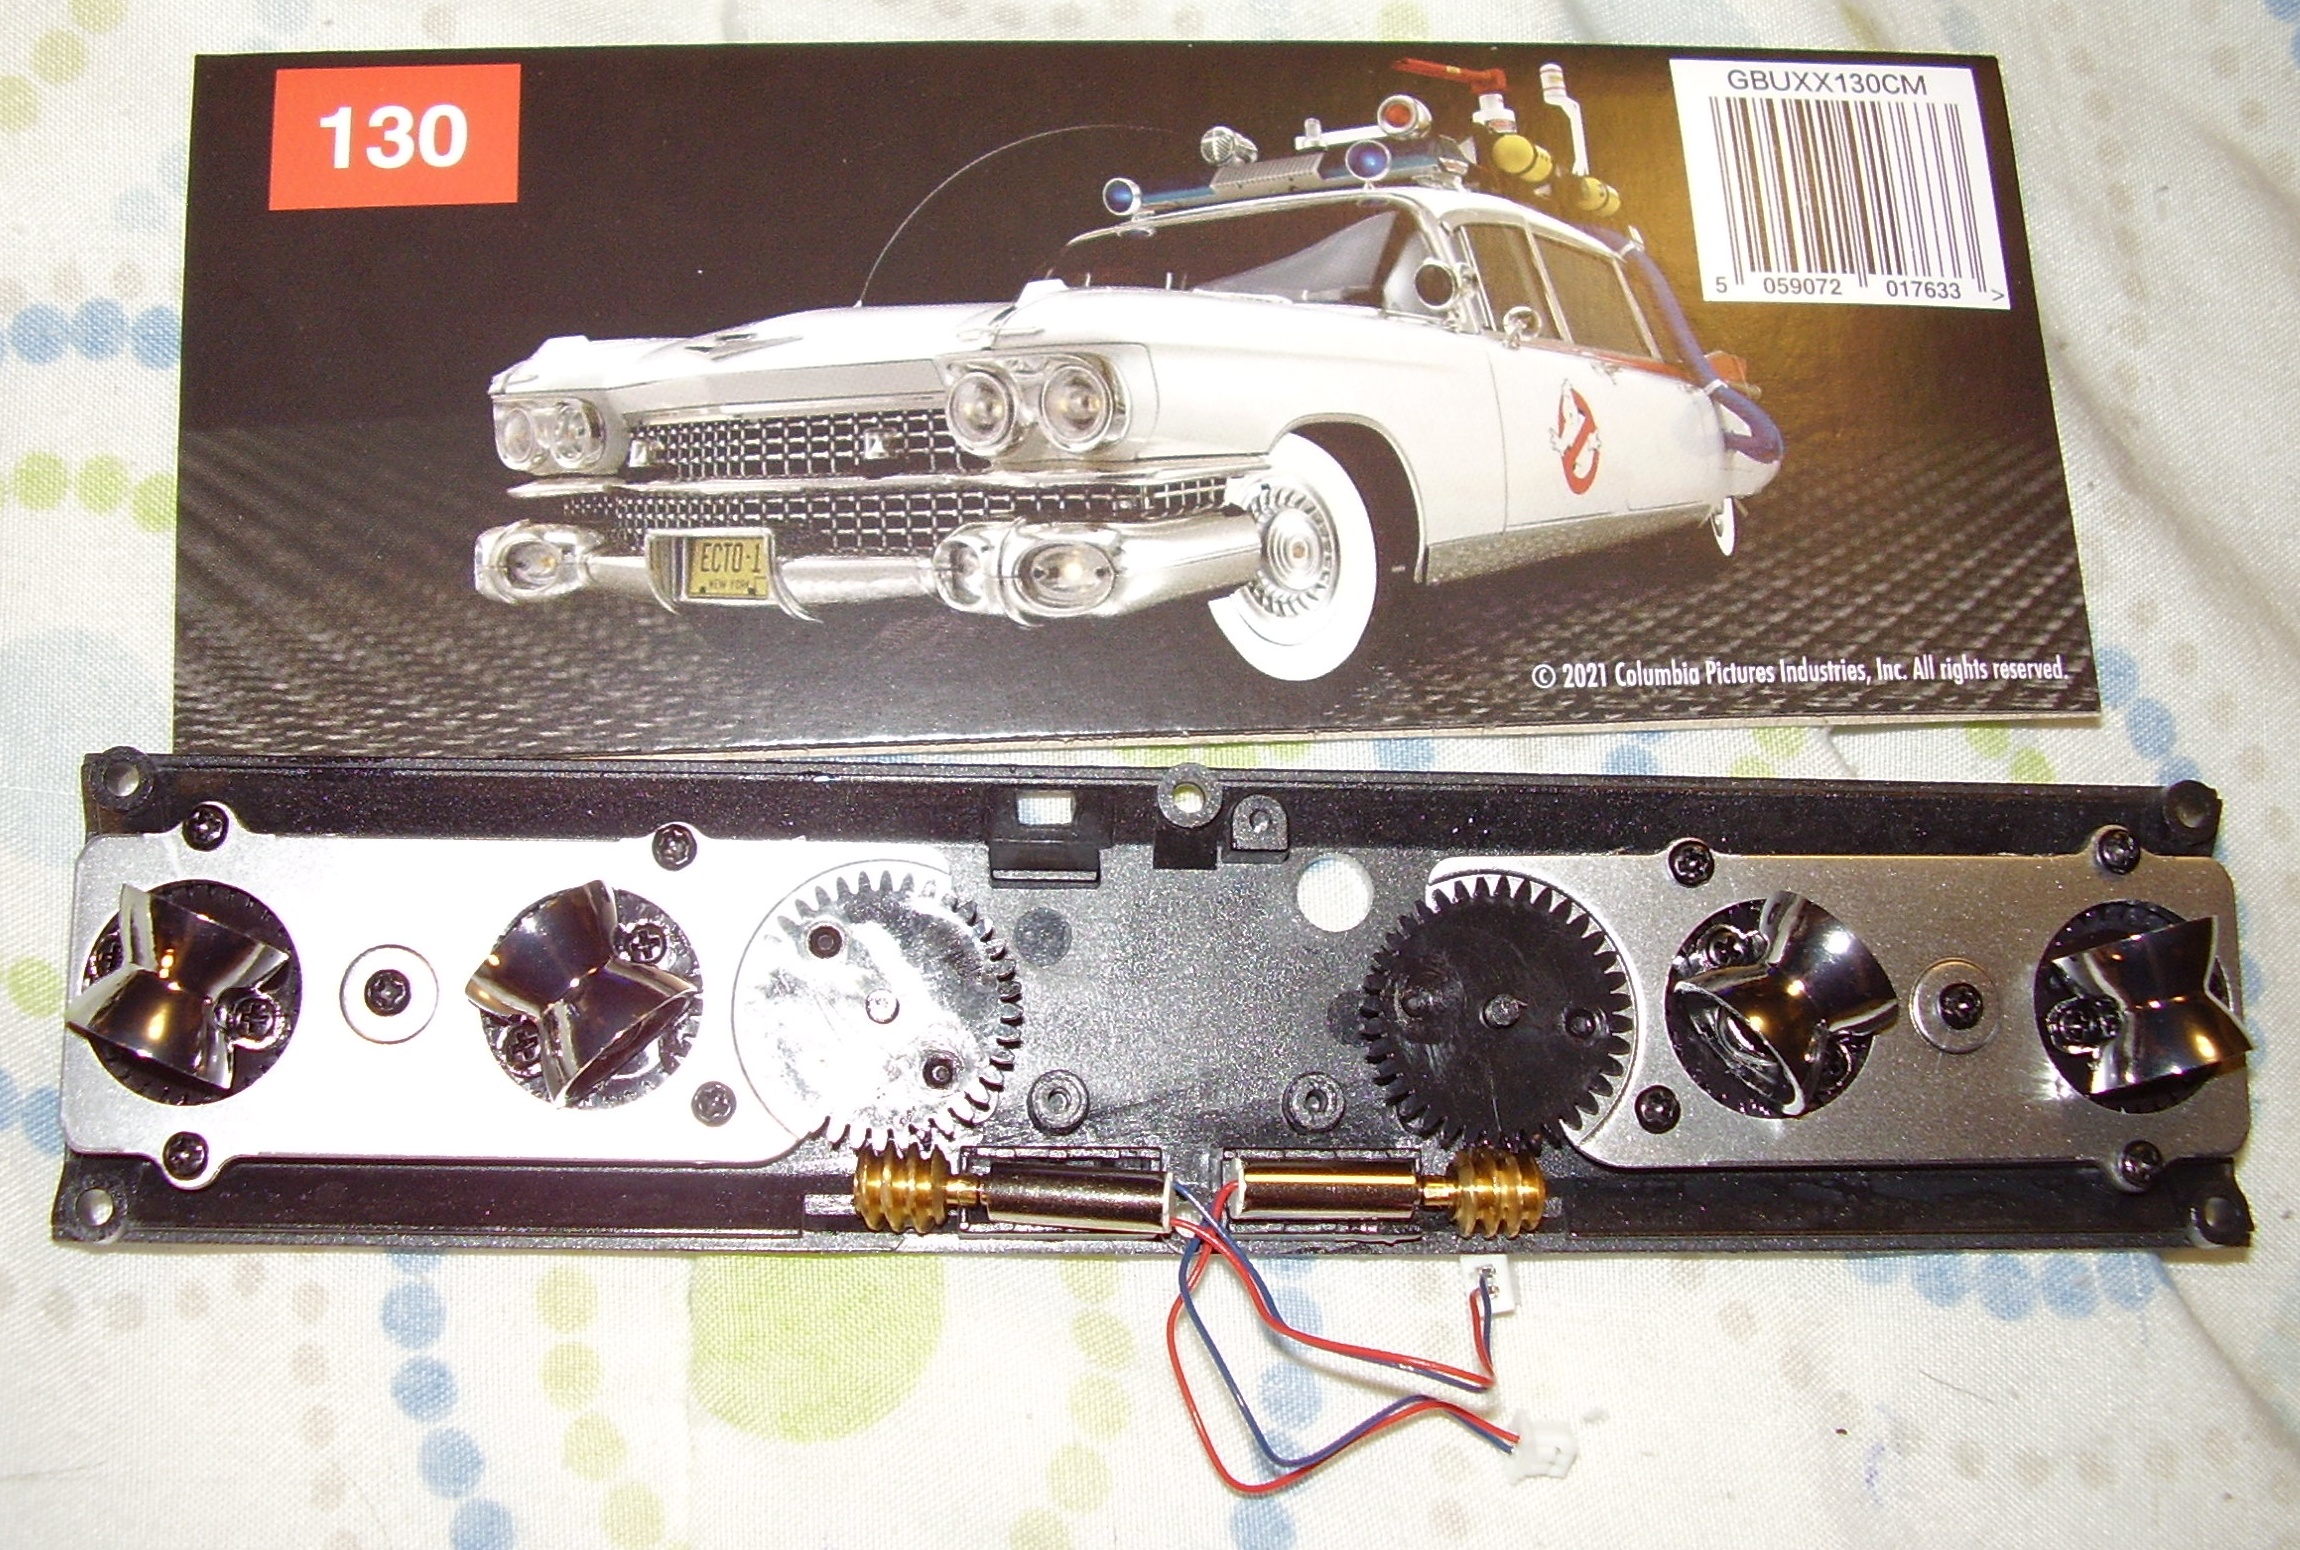
For several years, I reviewed the "Build The Ghostbusters Ecto-1" model subscription from DeAgostini, through their Fanhome imprint; also available in the United Kingdom and Germany. (The model was previously released by Eaglemoss' Hero Collector imprint.) I have recently completed the build, all 140 stages, so it's time for the final part of my coverage: the photo diary of the build. After working on each stage, I took a photograph to document the model's completion at that point. Every day this week I will present 20 photographs taking you from Stage #1 through Stage #140, with the "Special" stage coming at the end, and a review at the conclusion after that. Join me as we finish this quest...
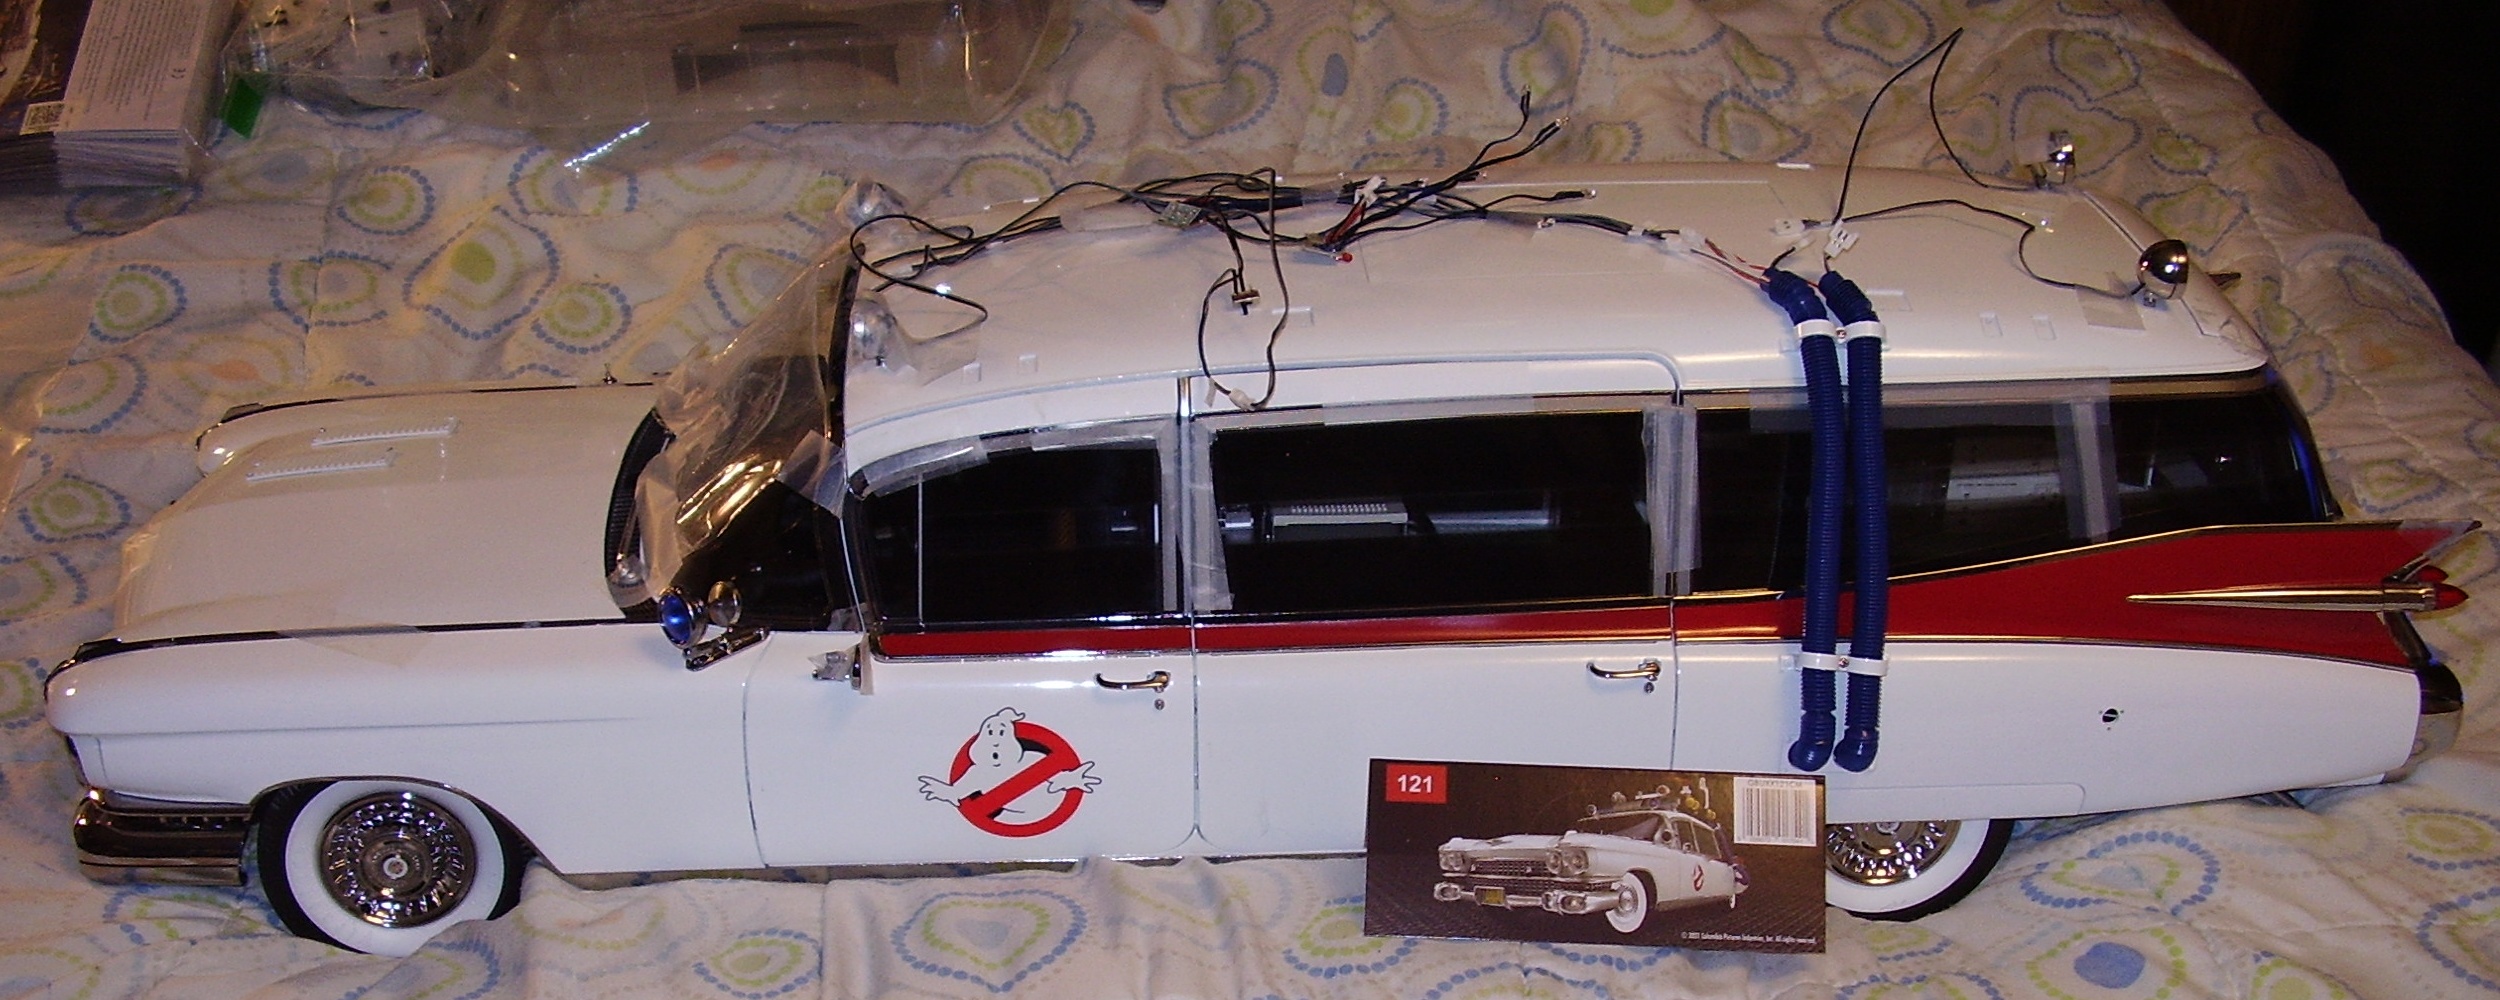
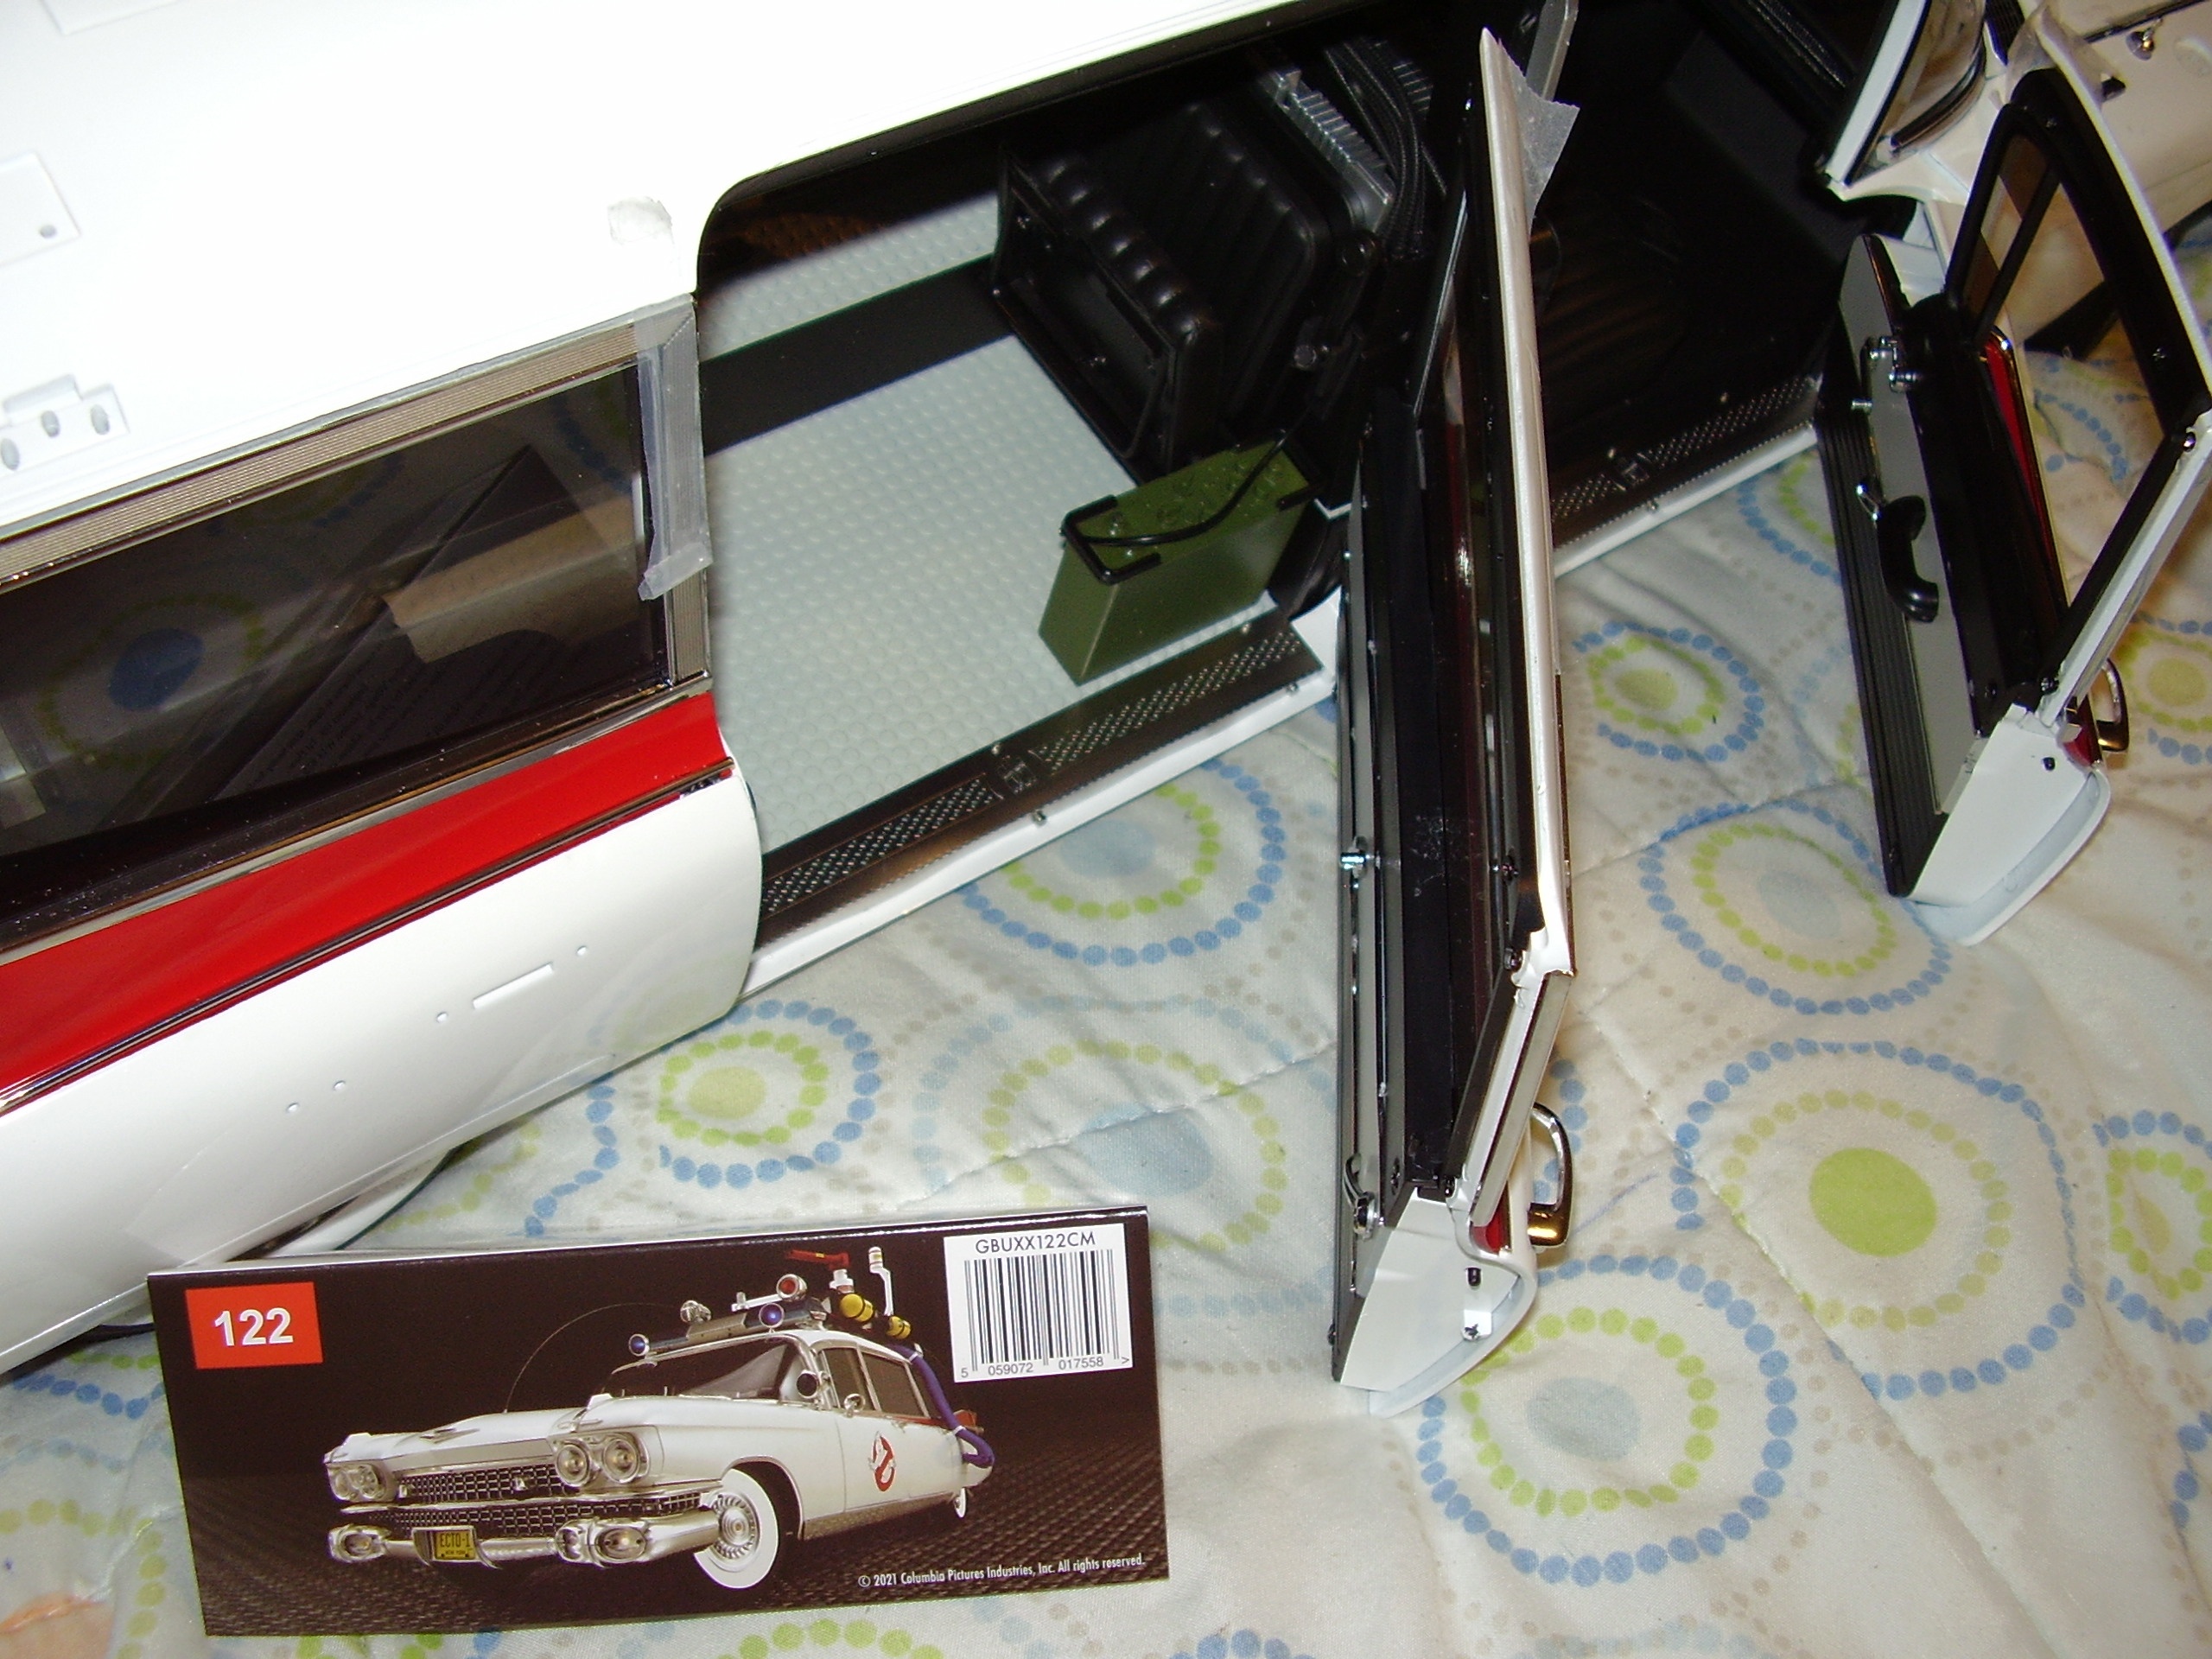
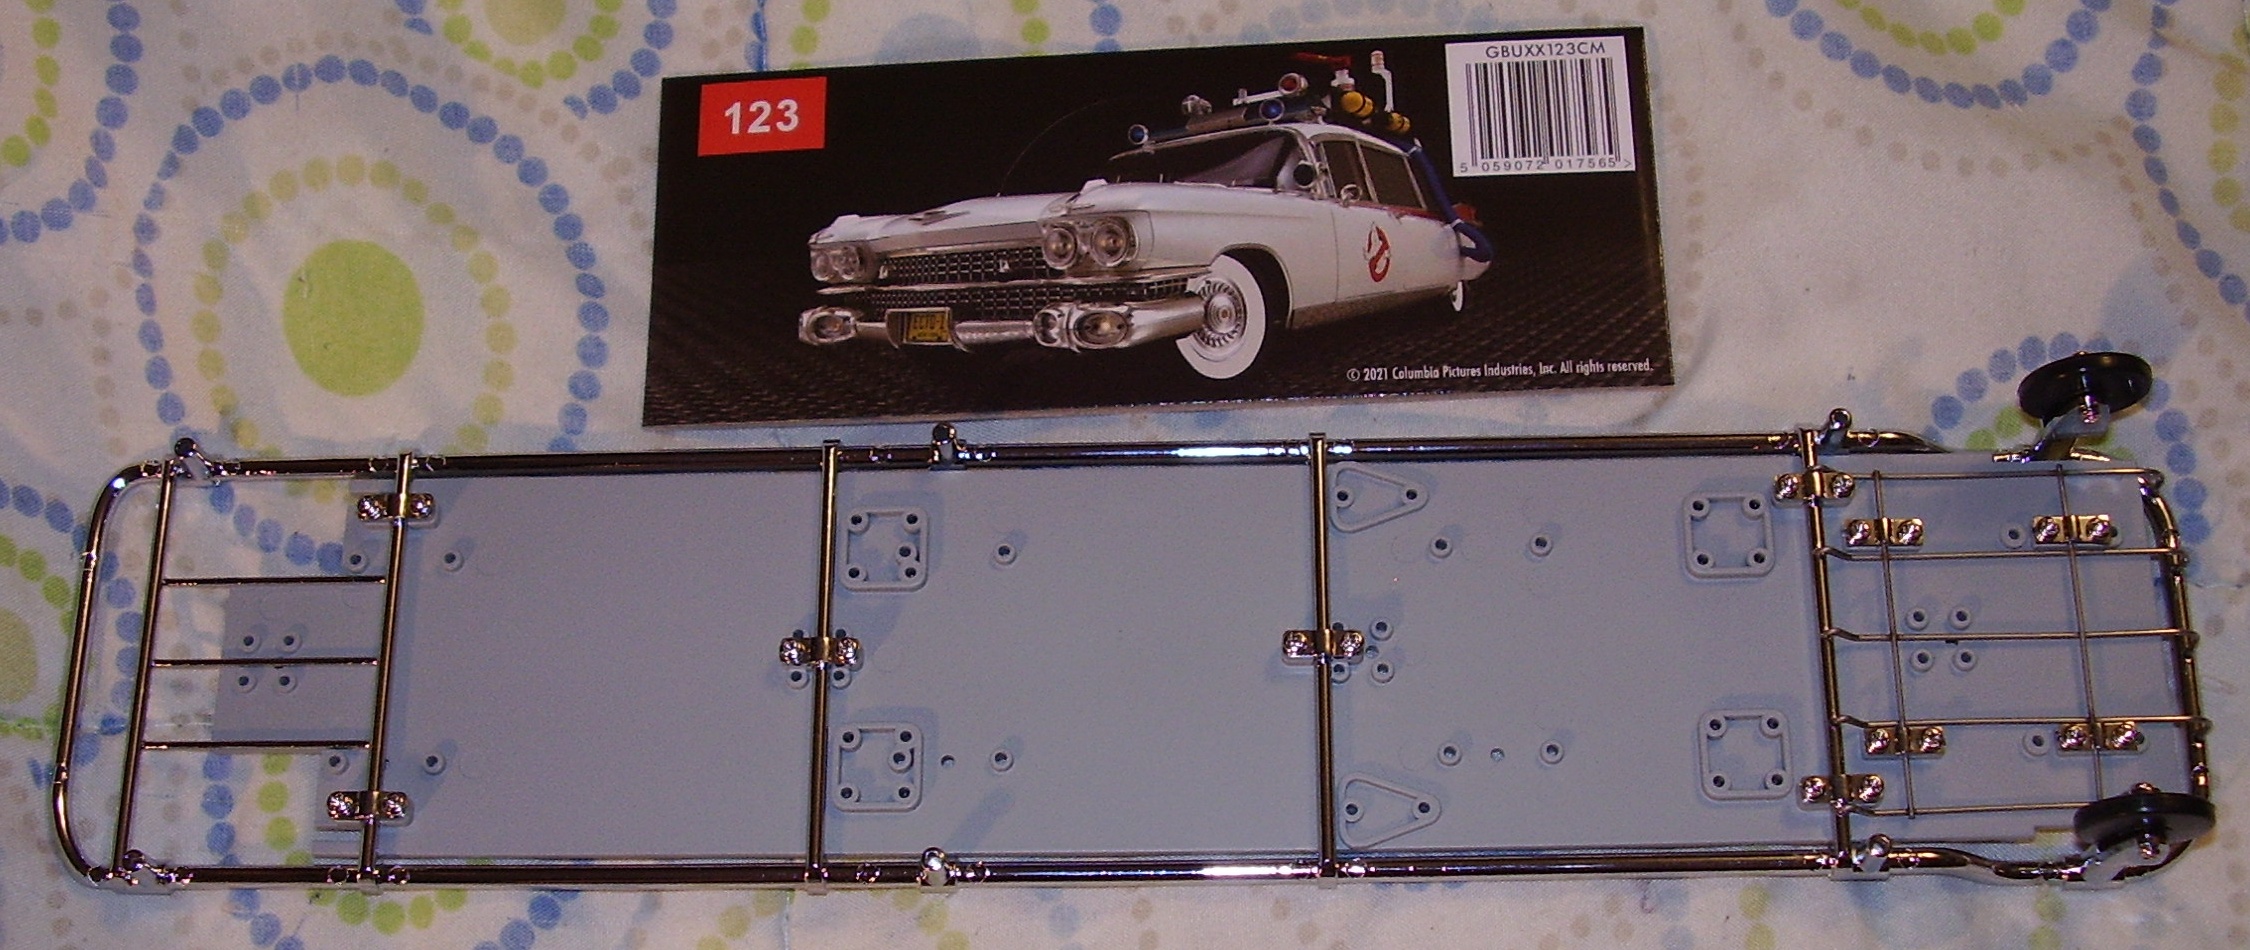
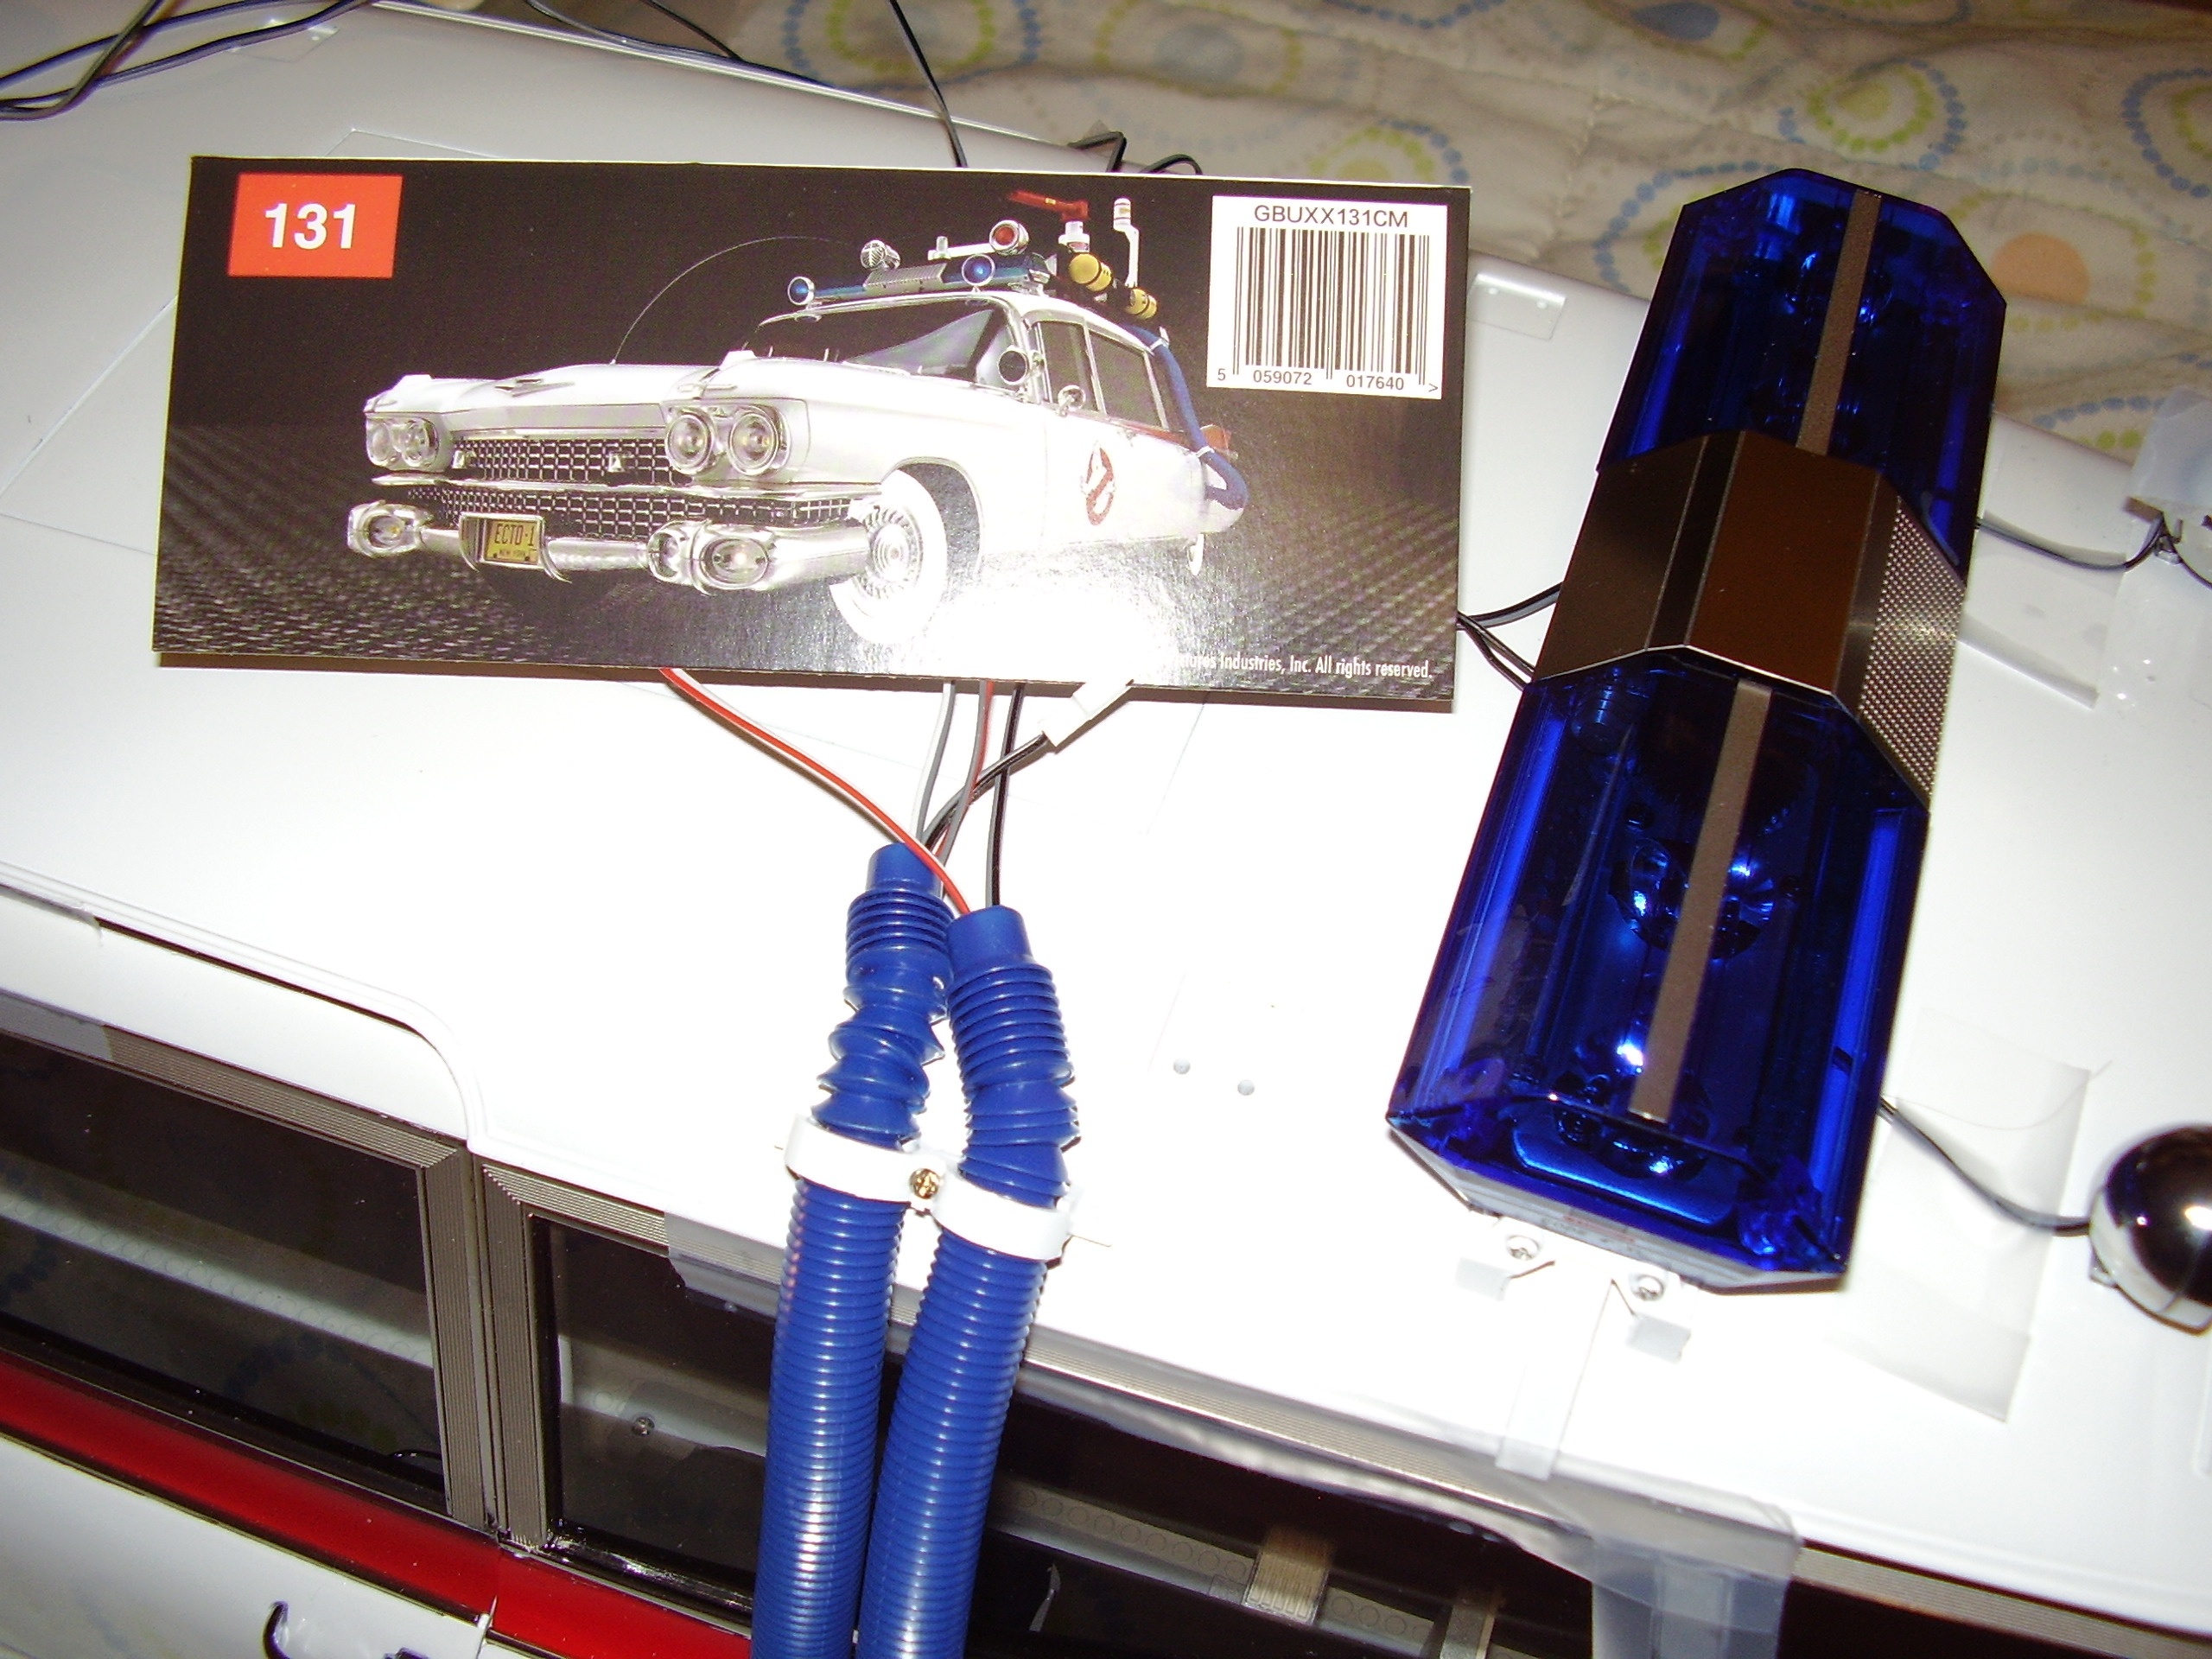
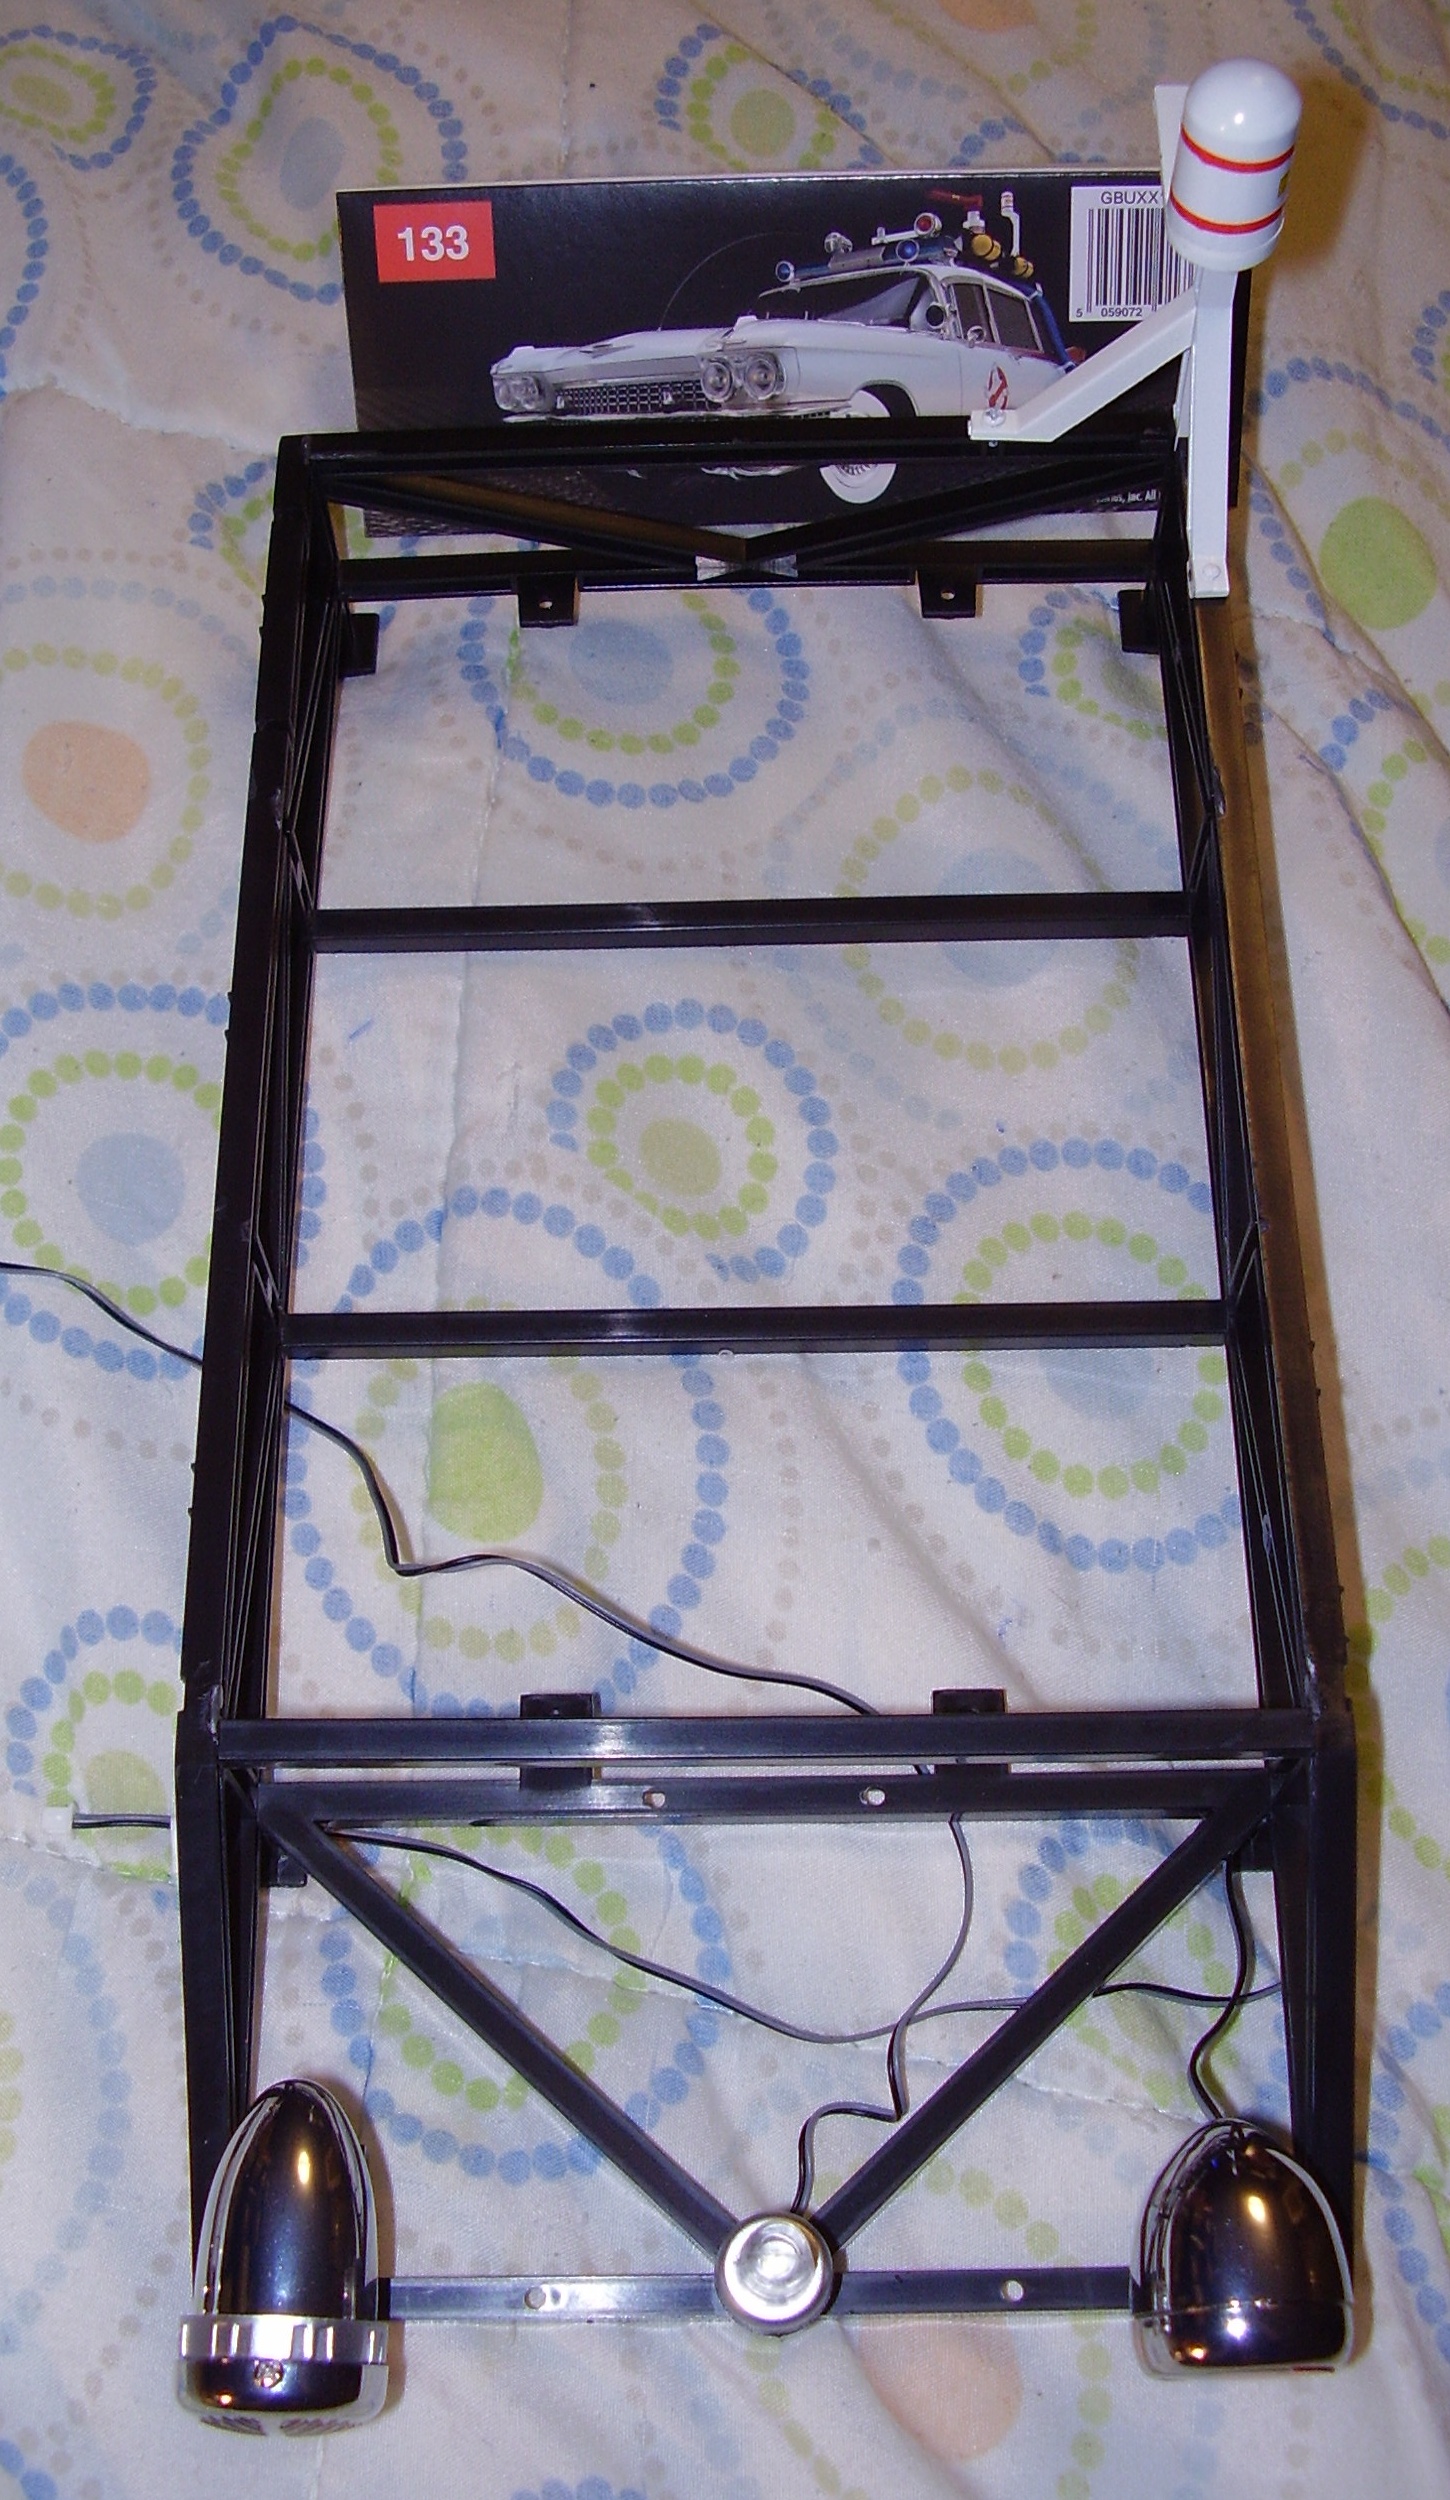
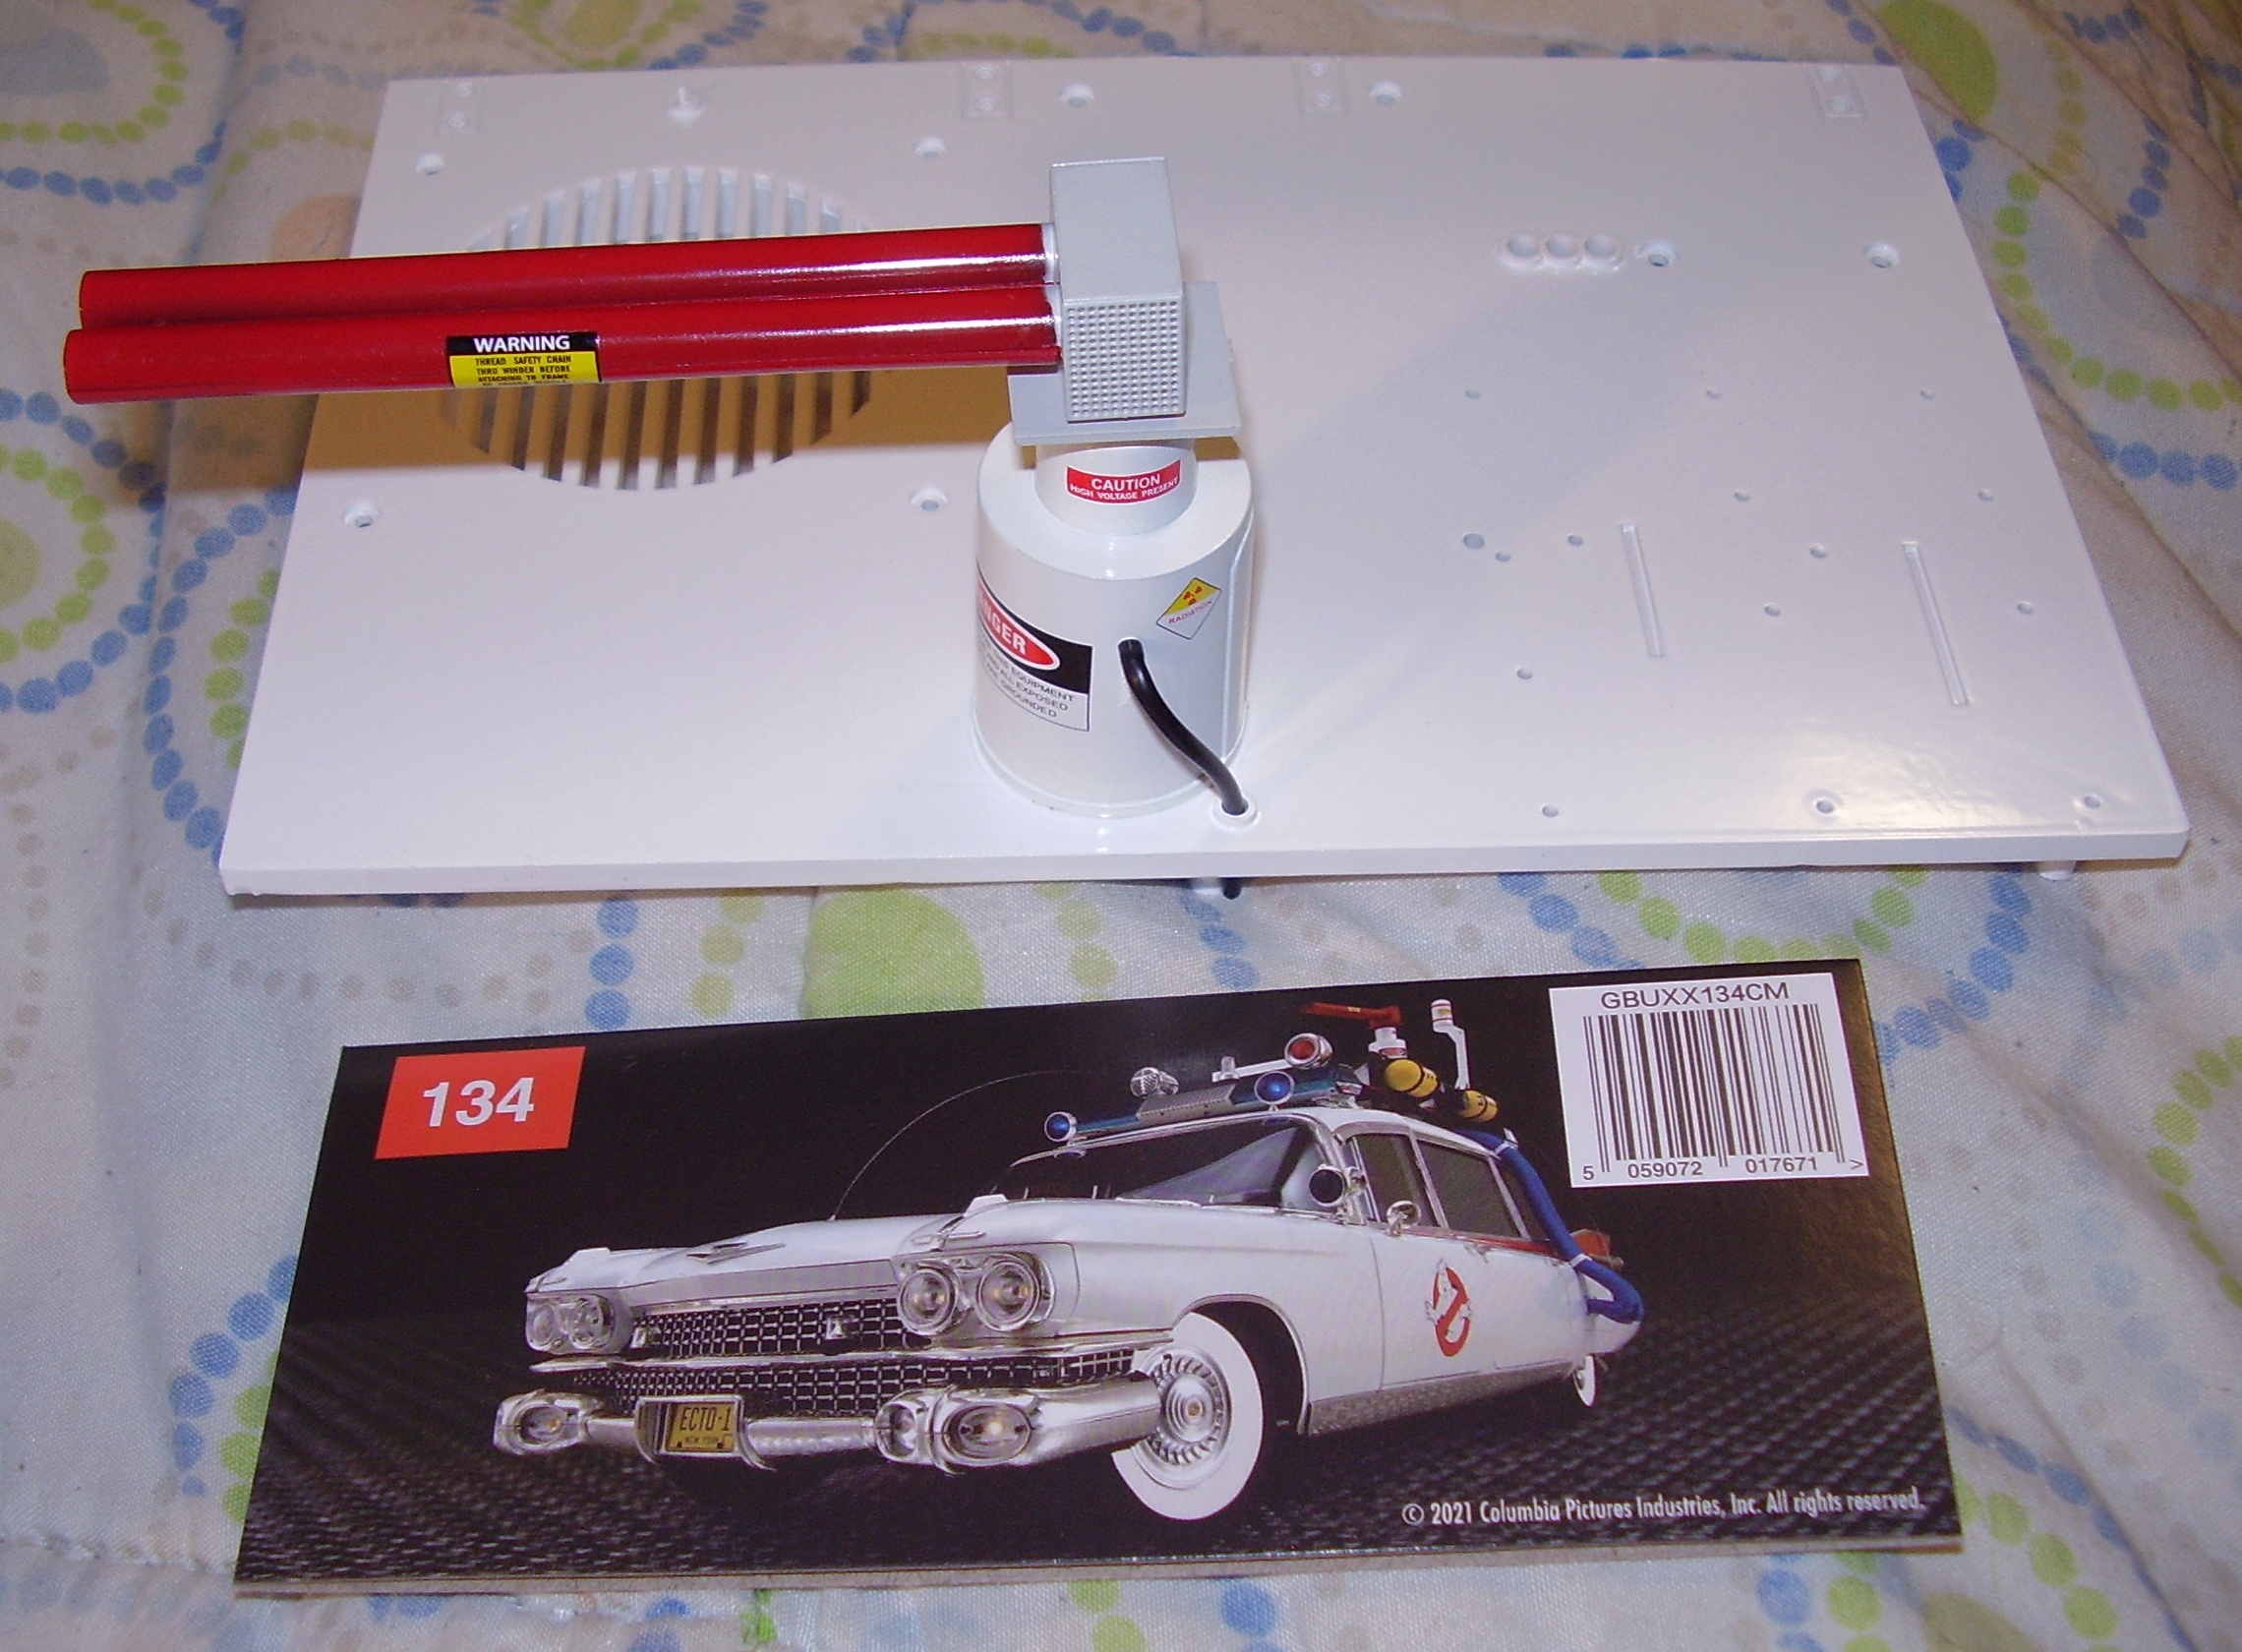
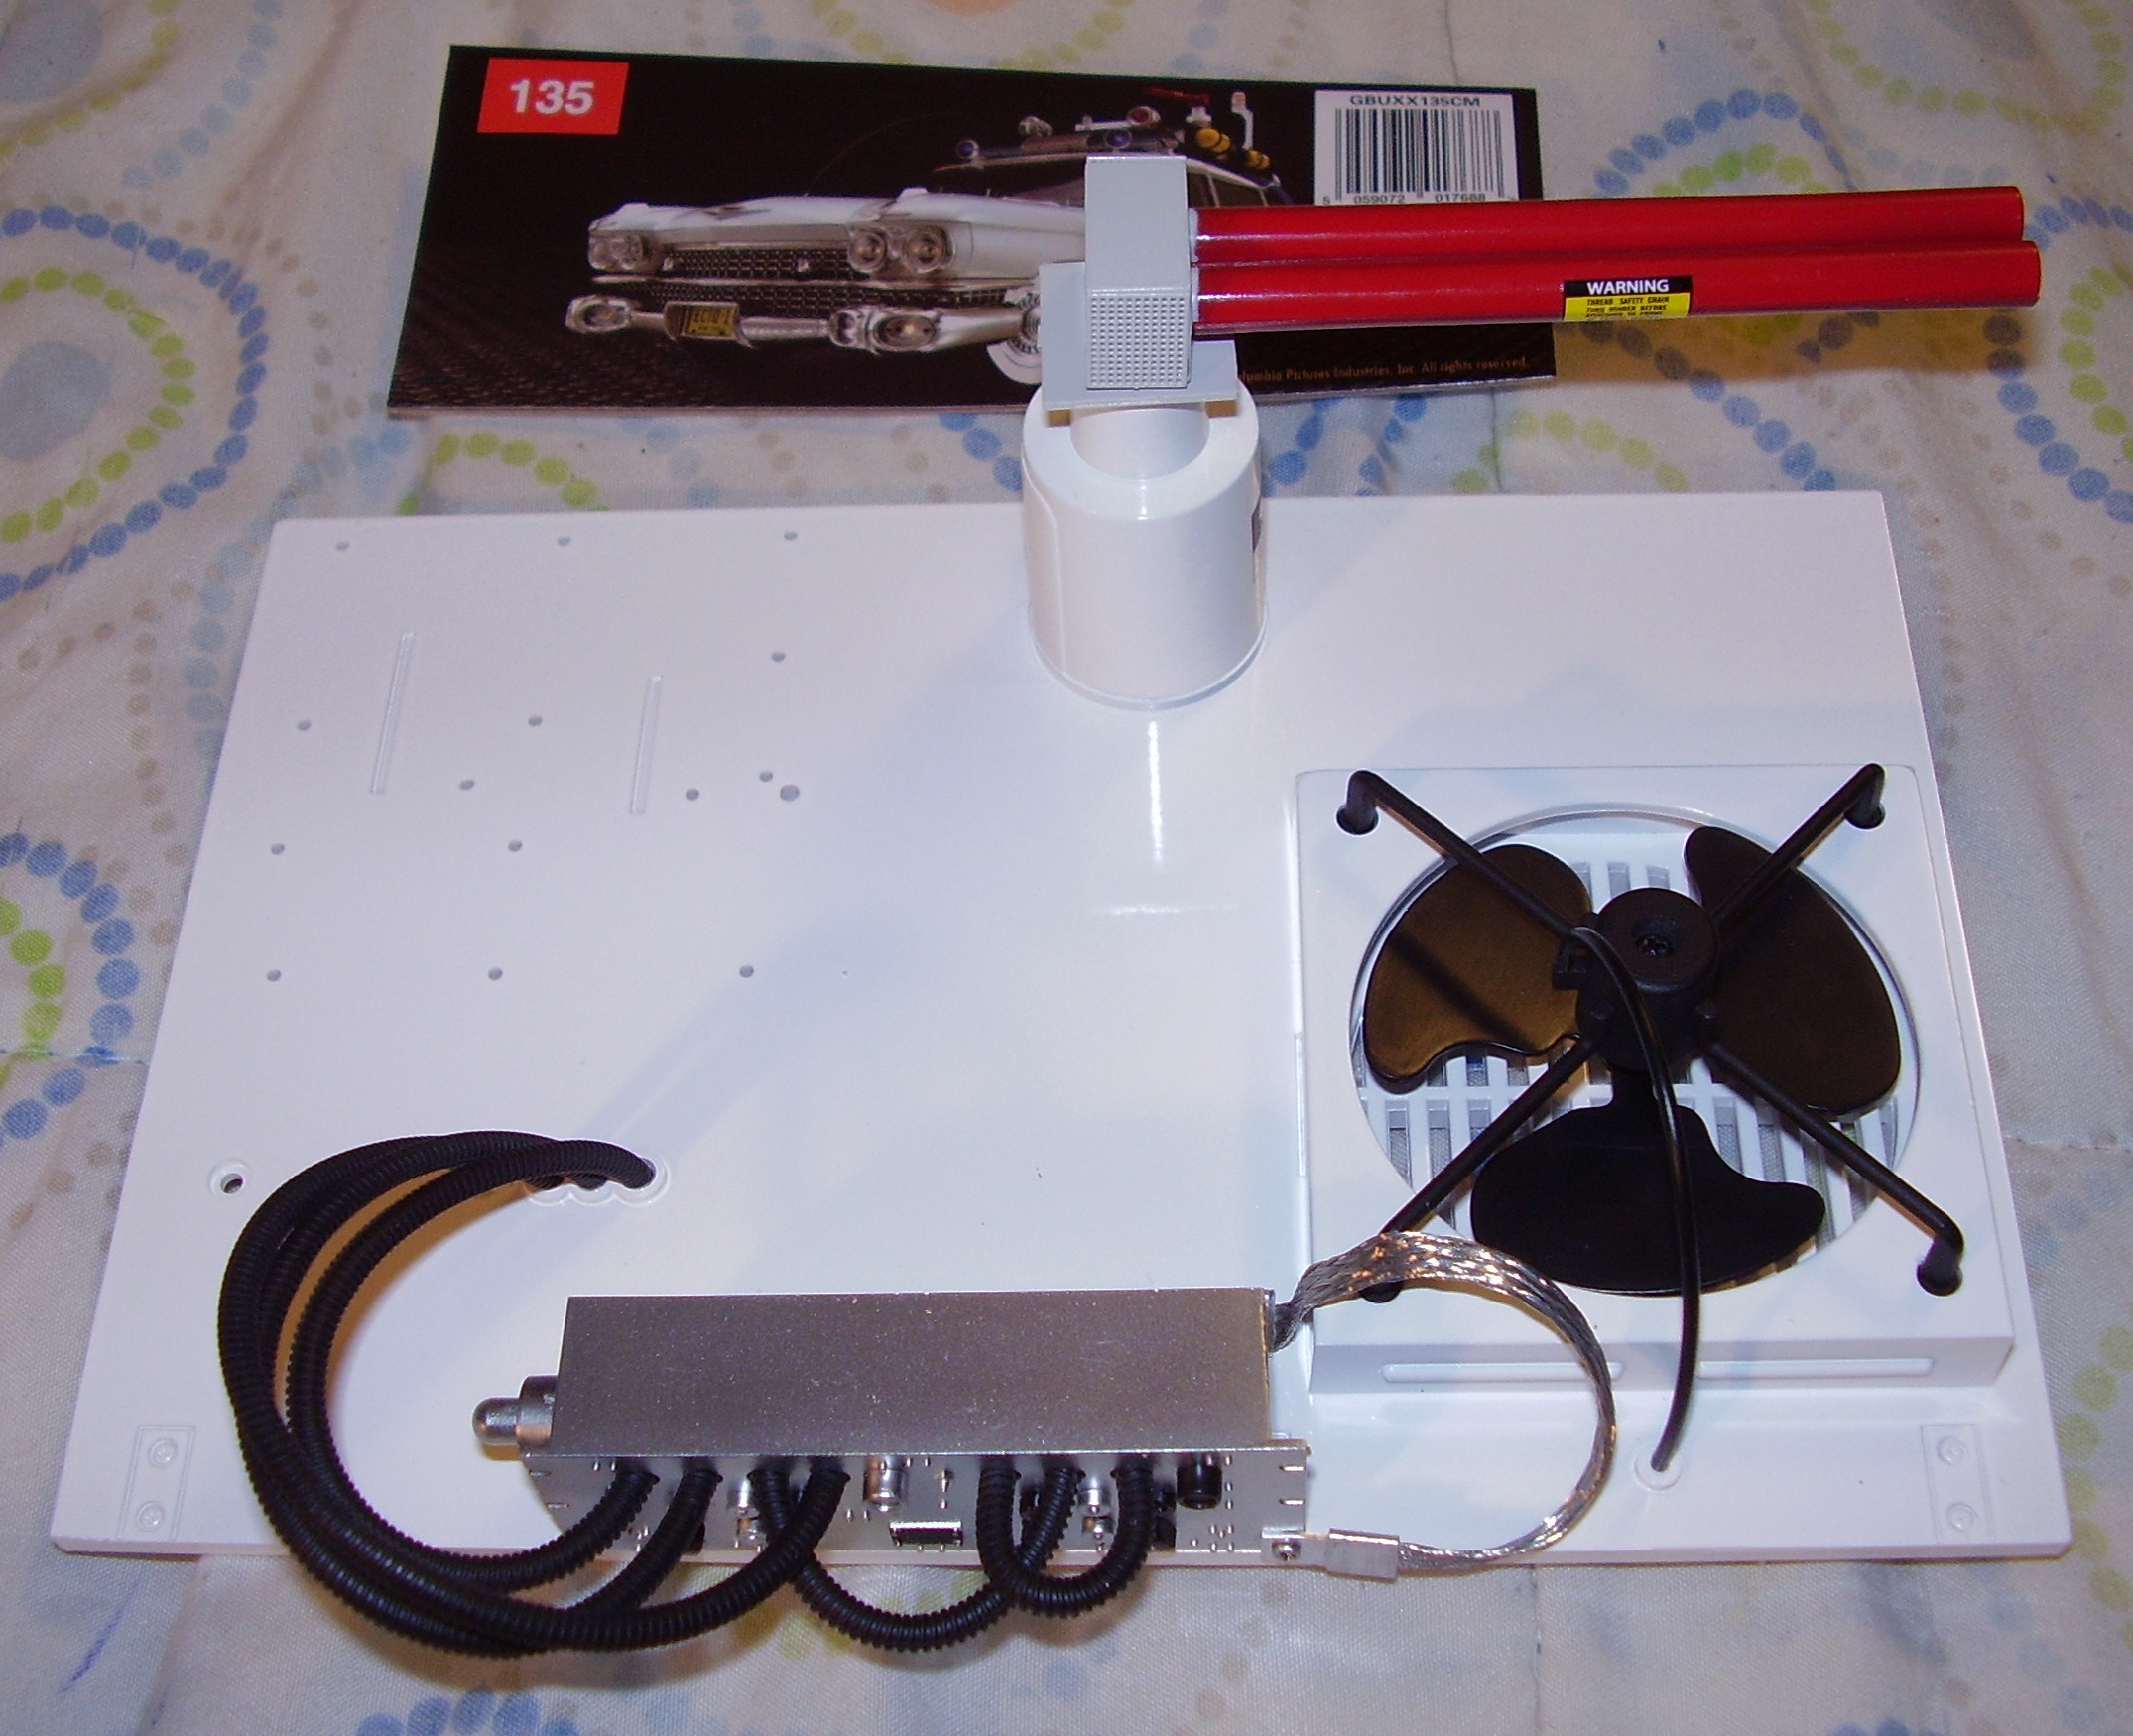
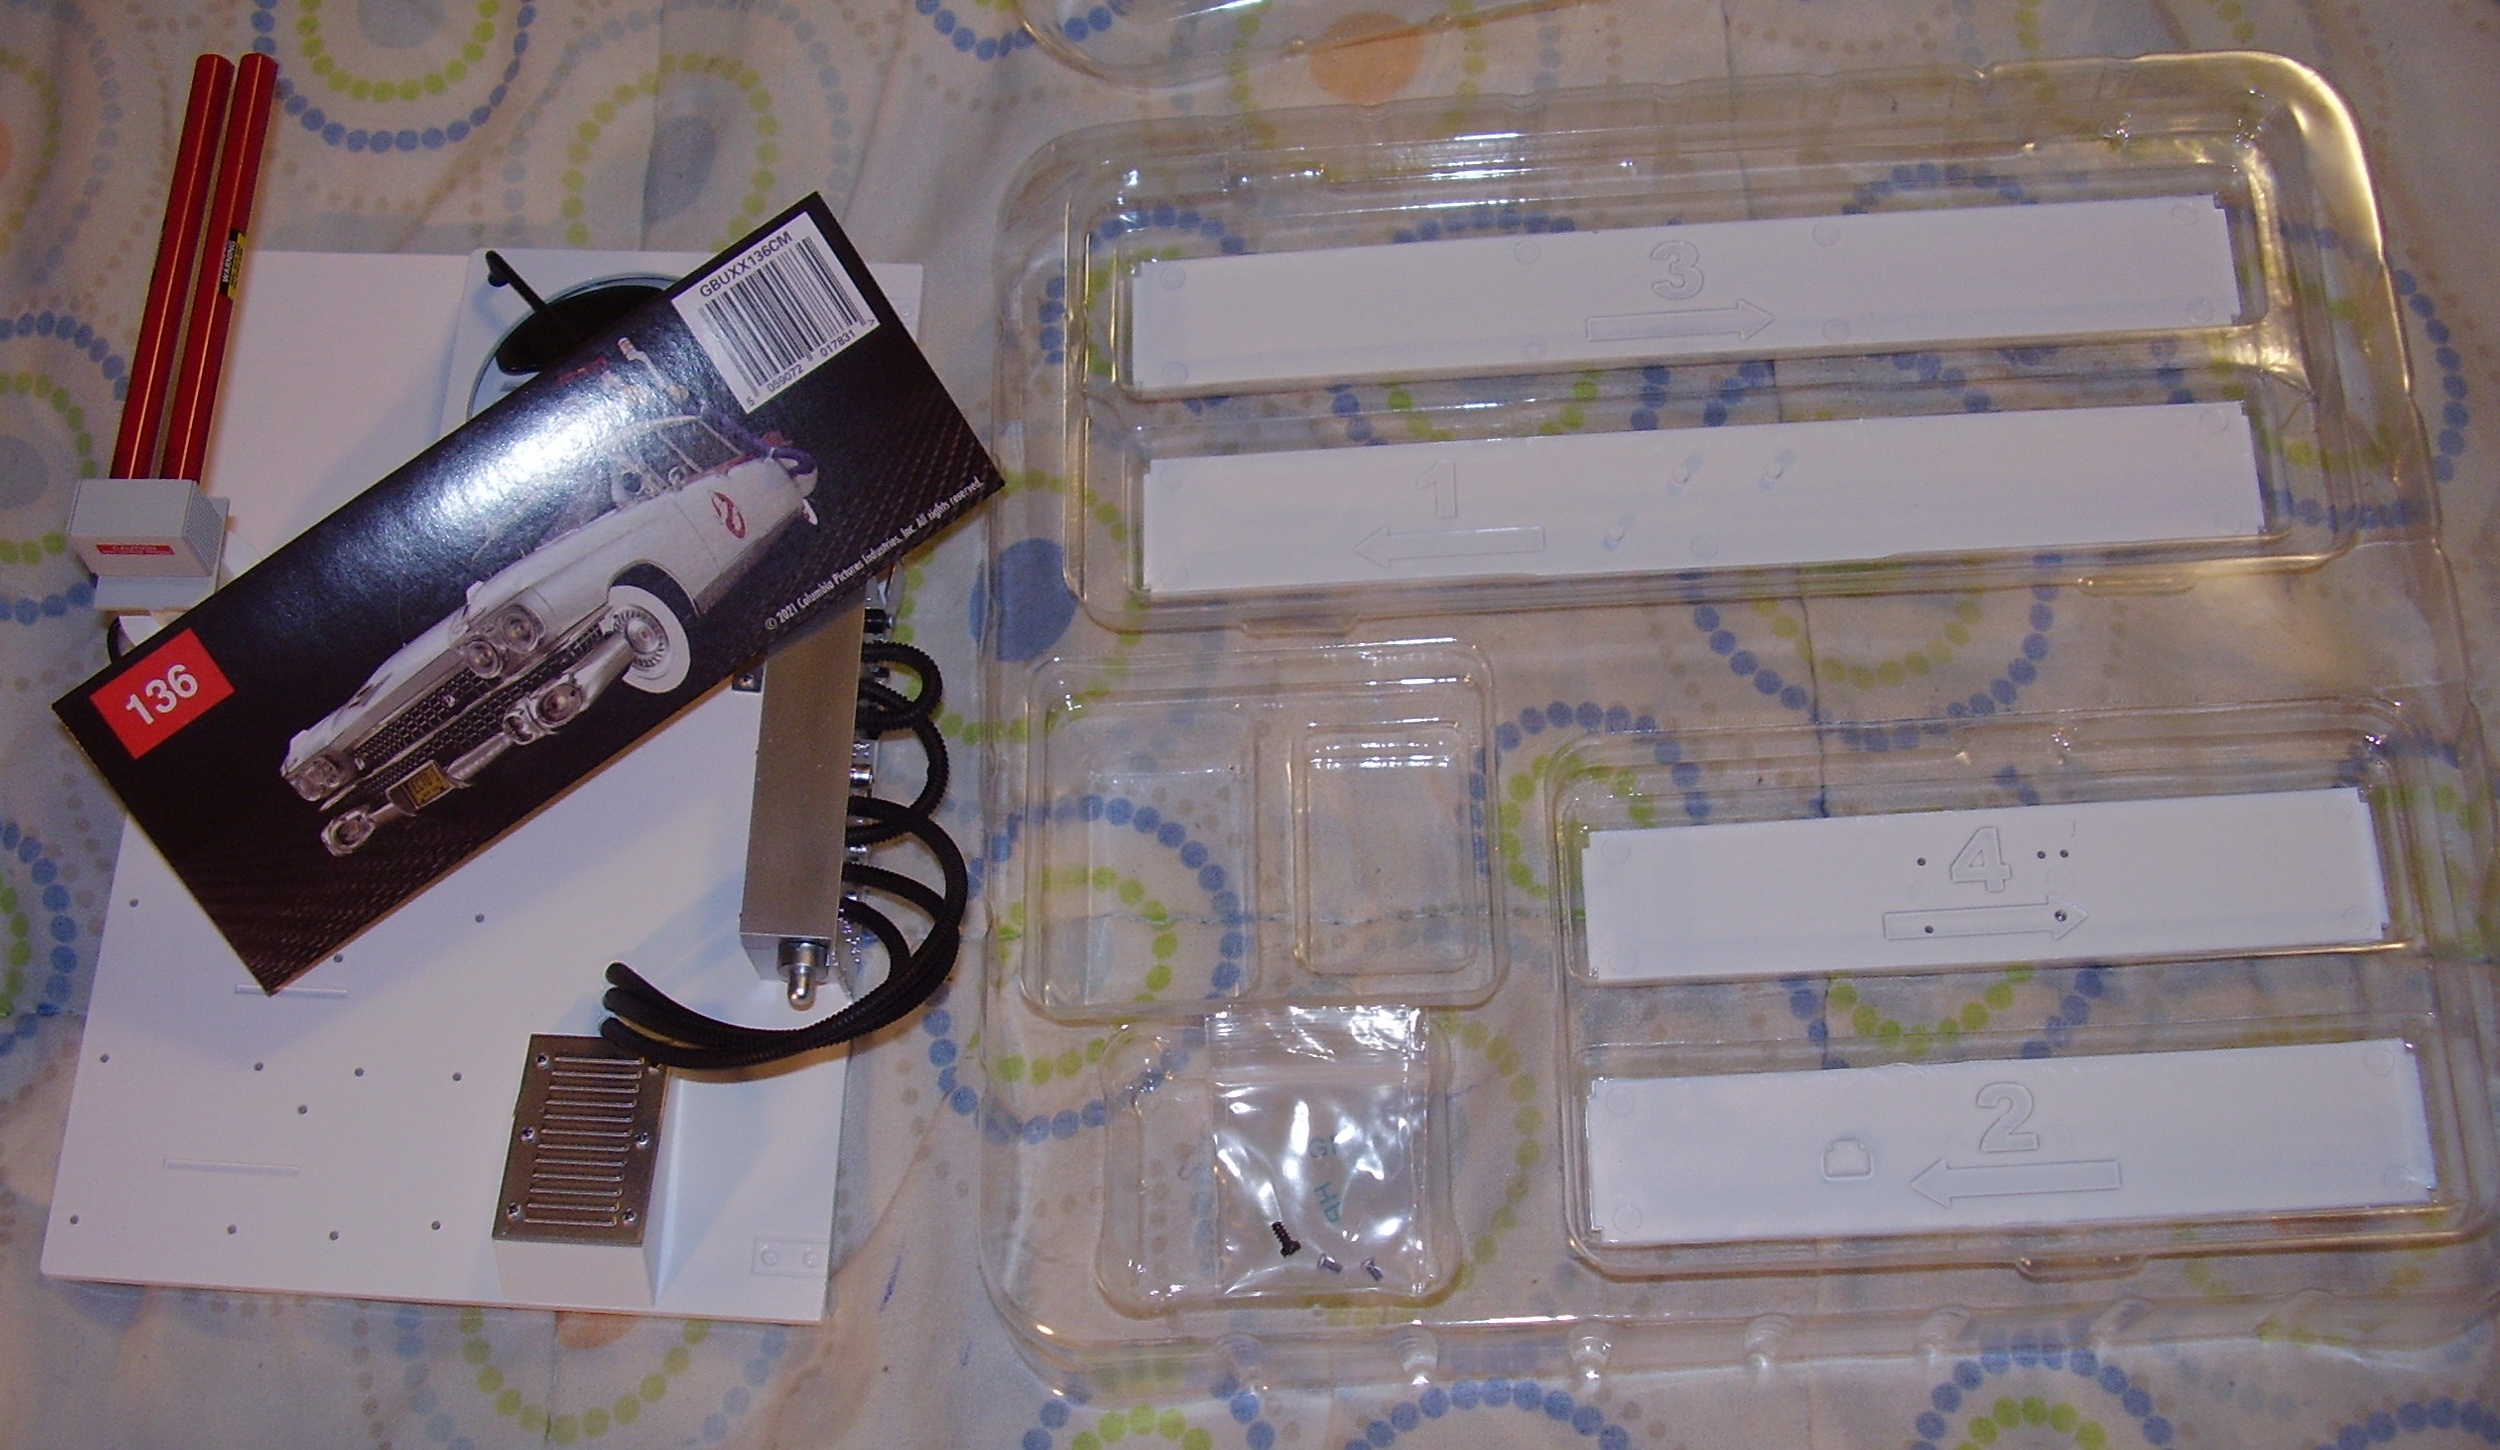
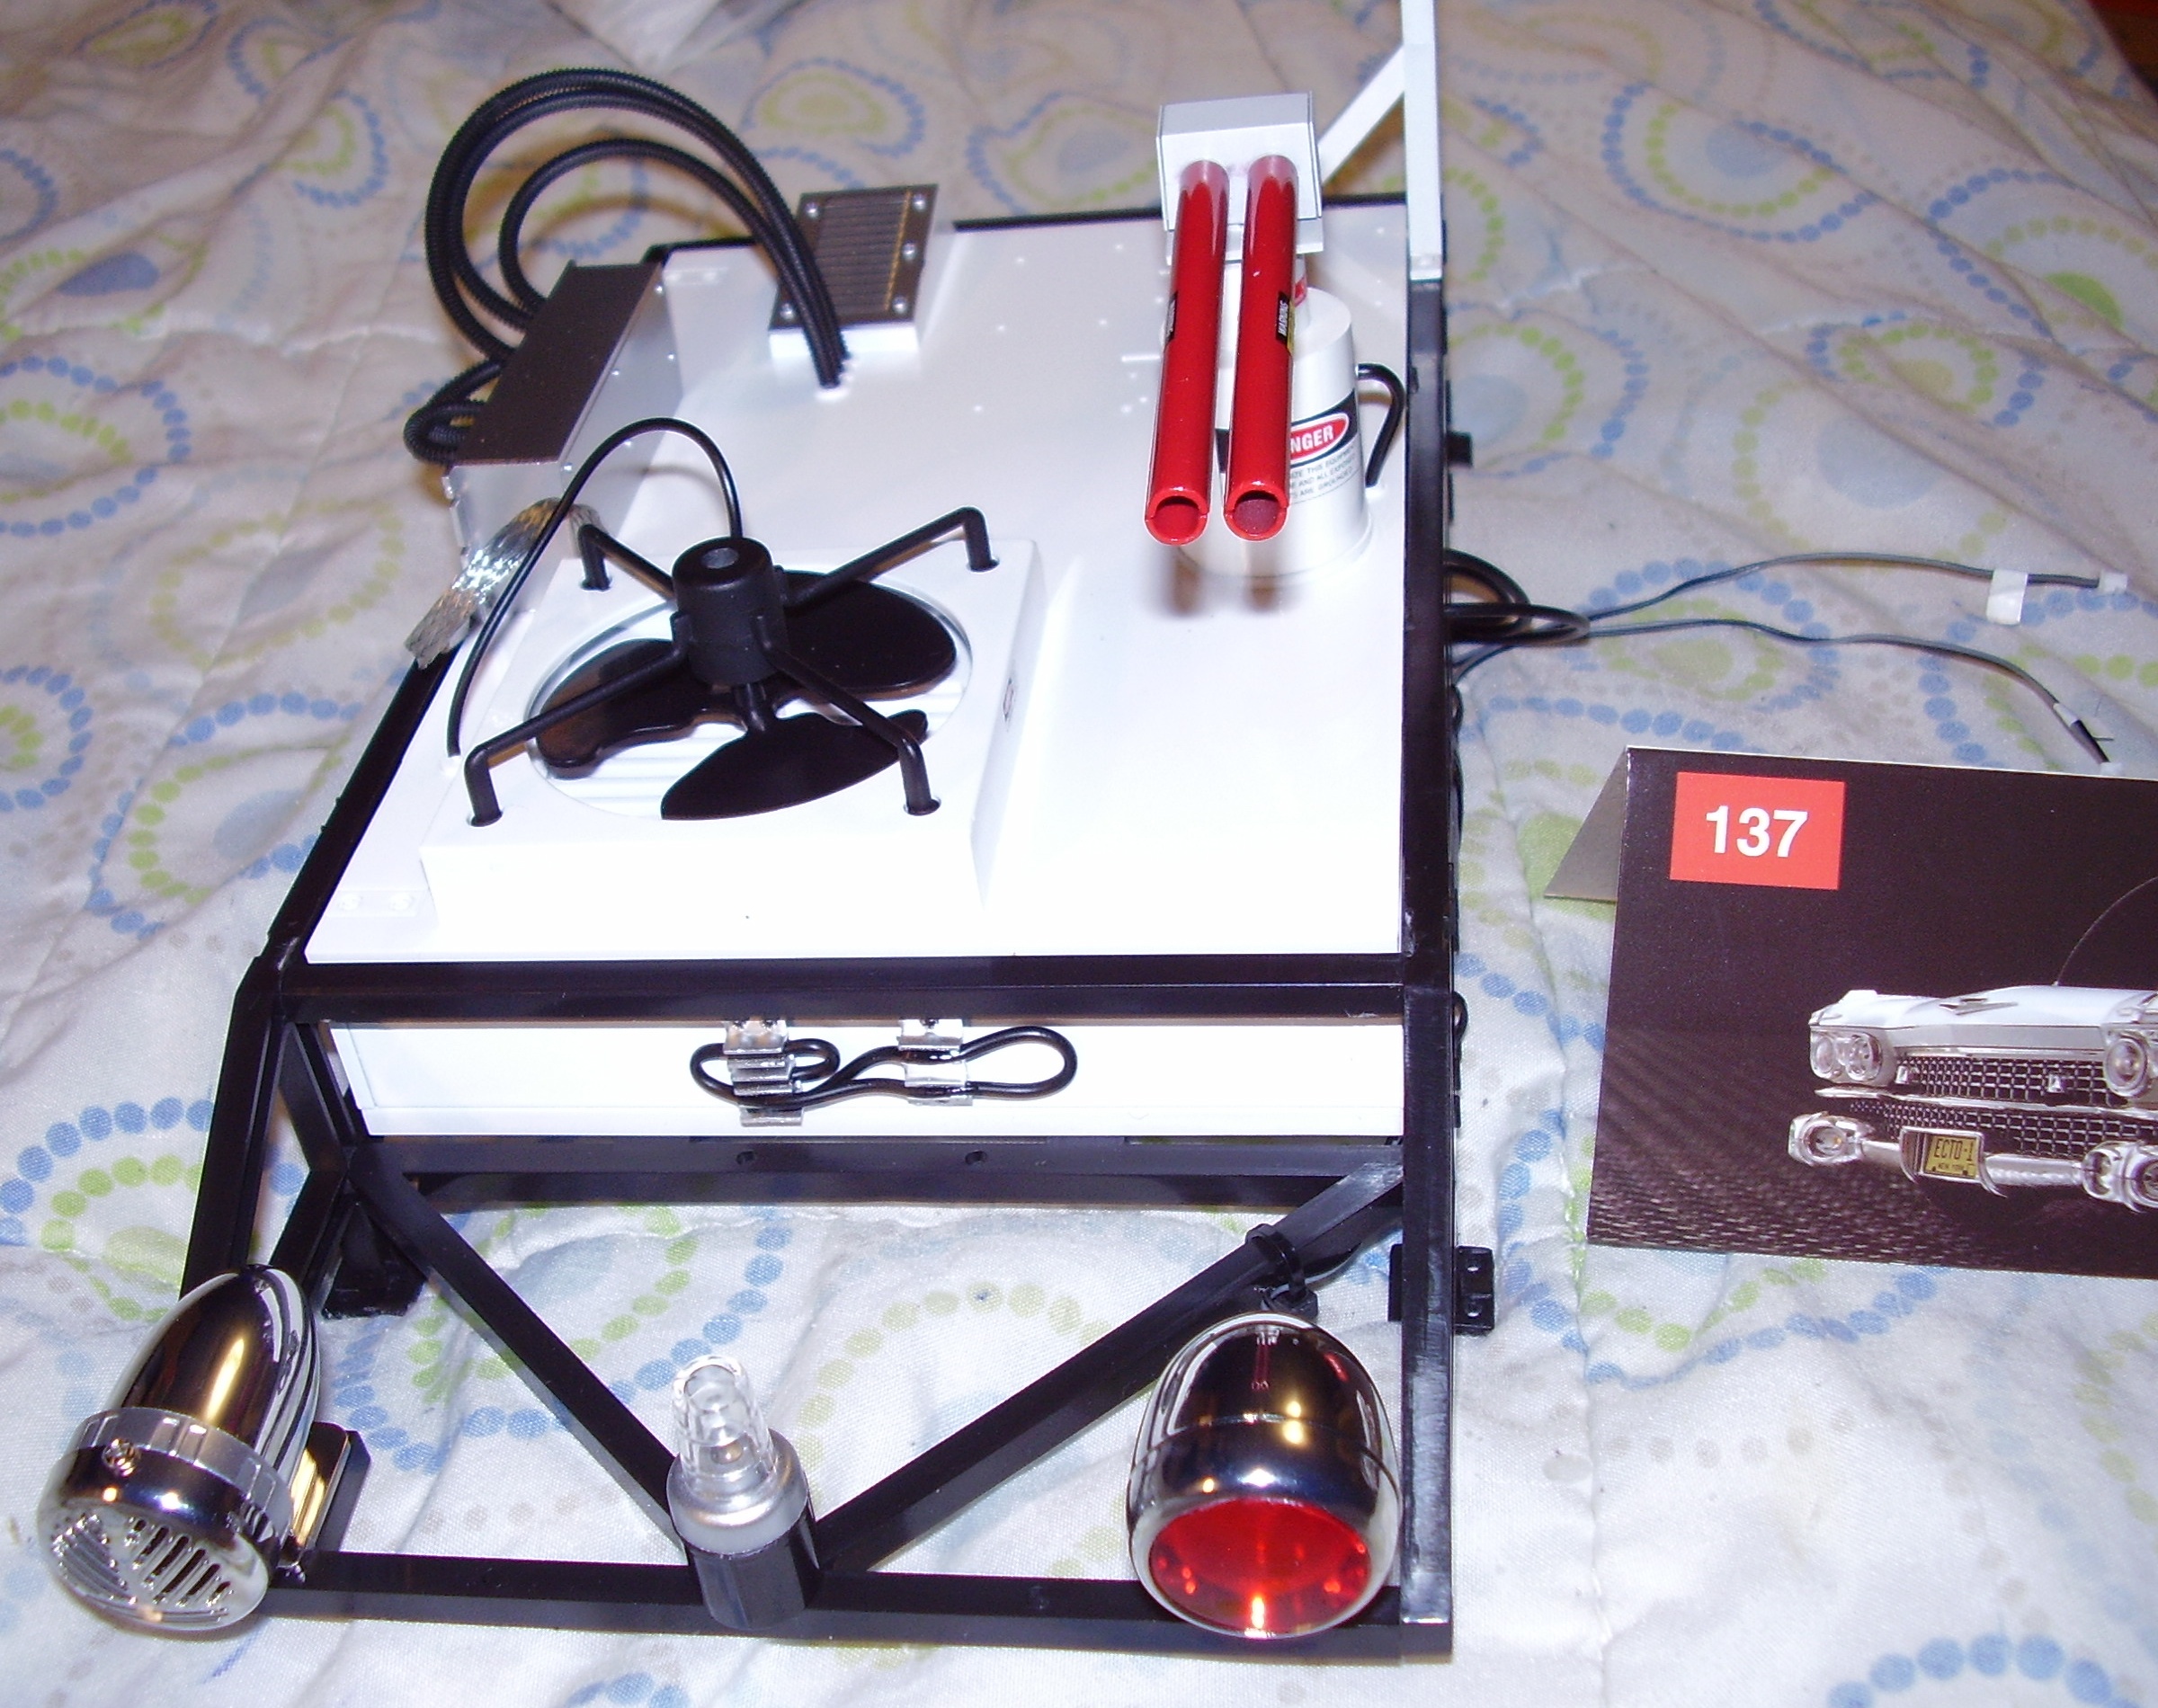
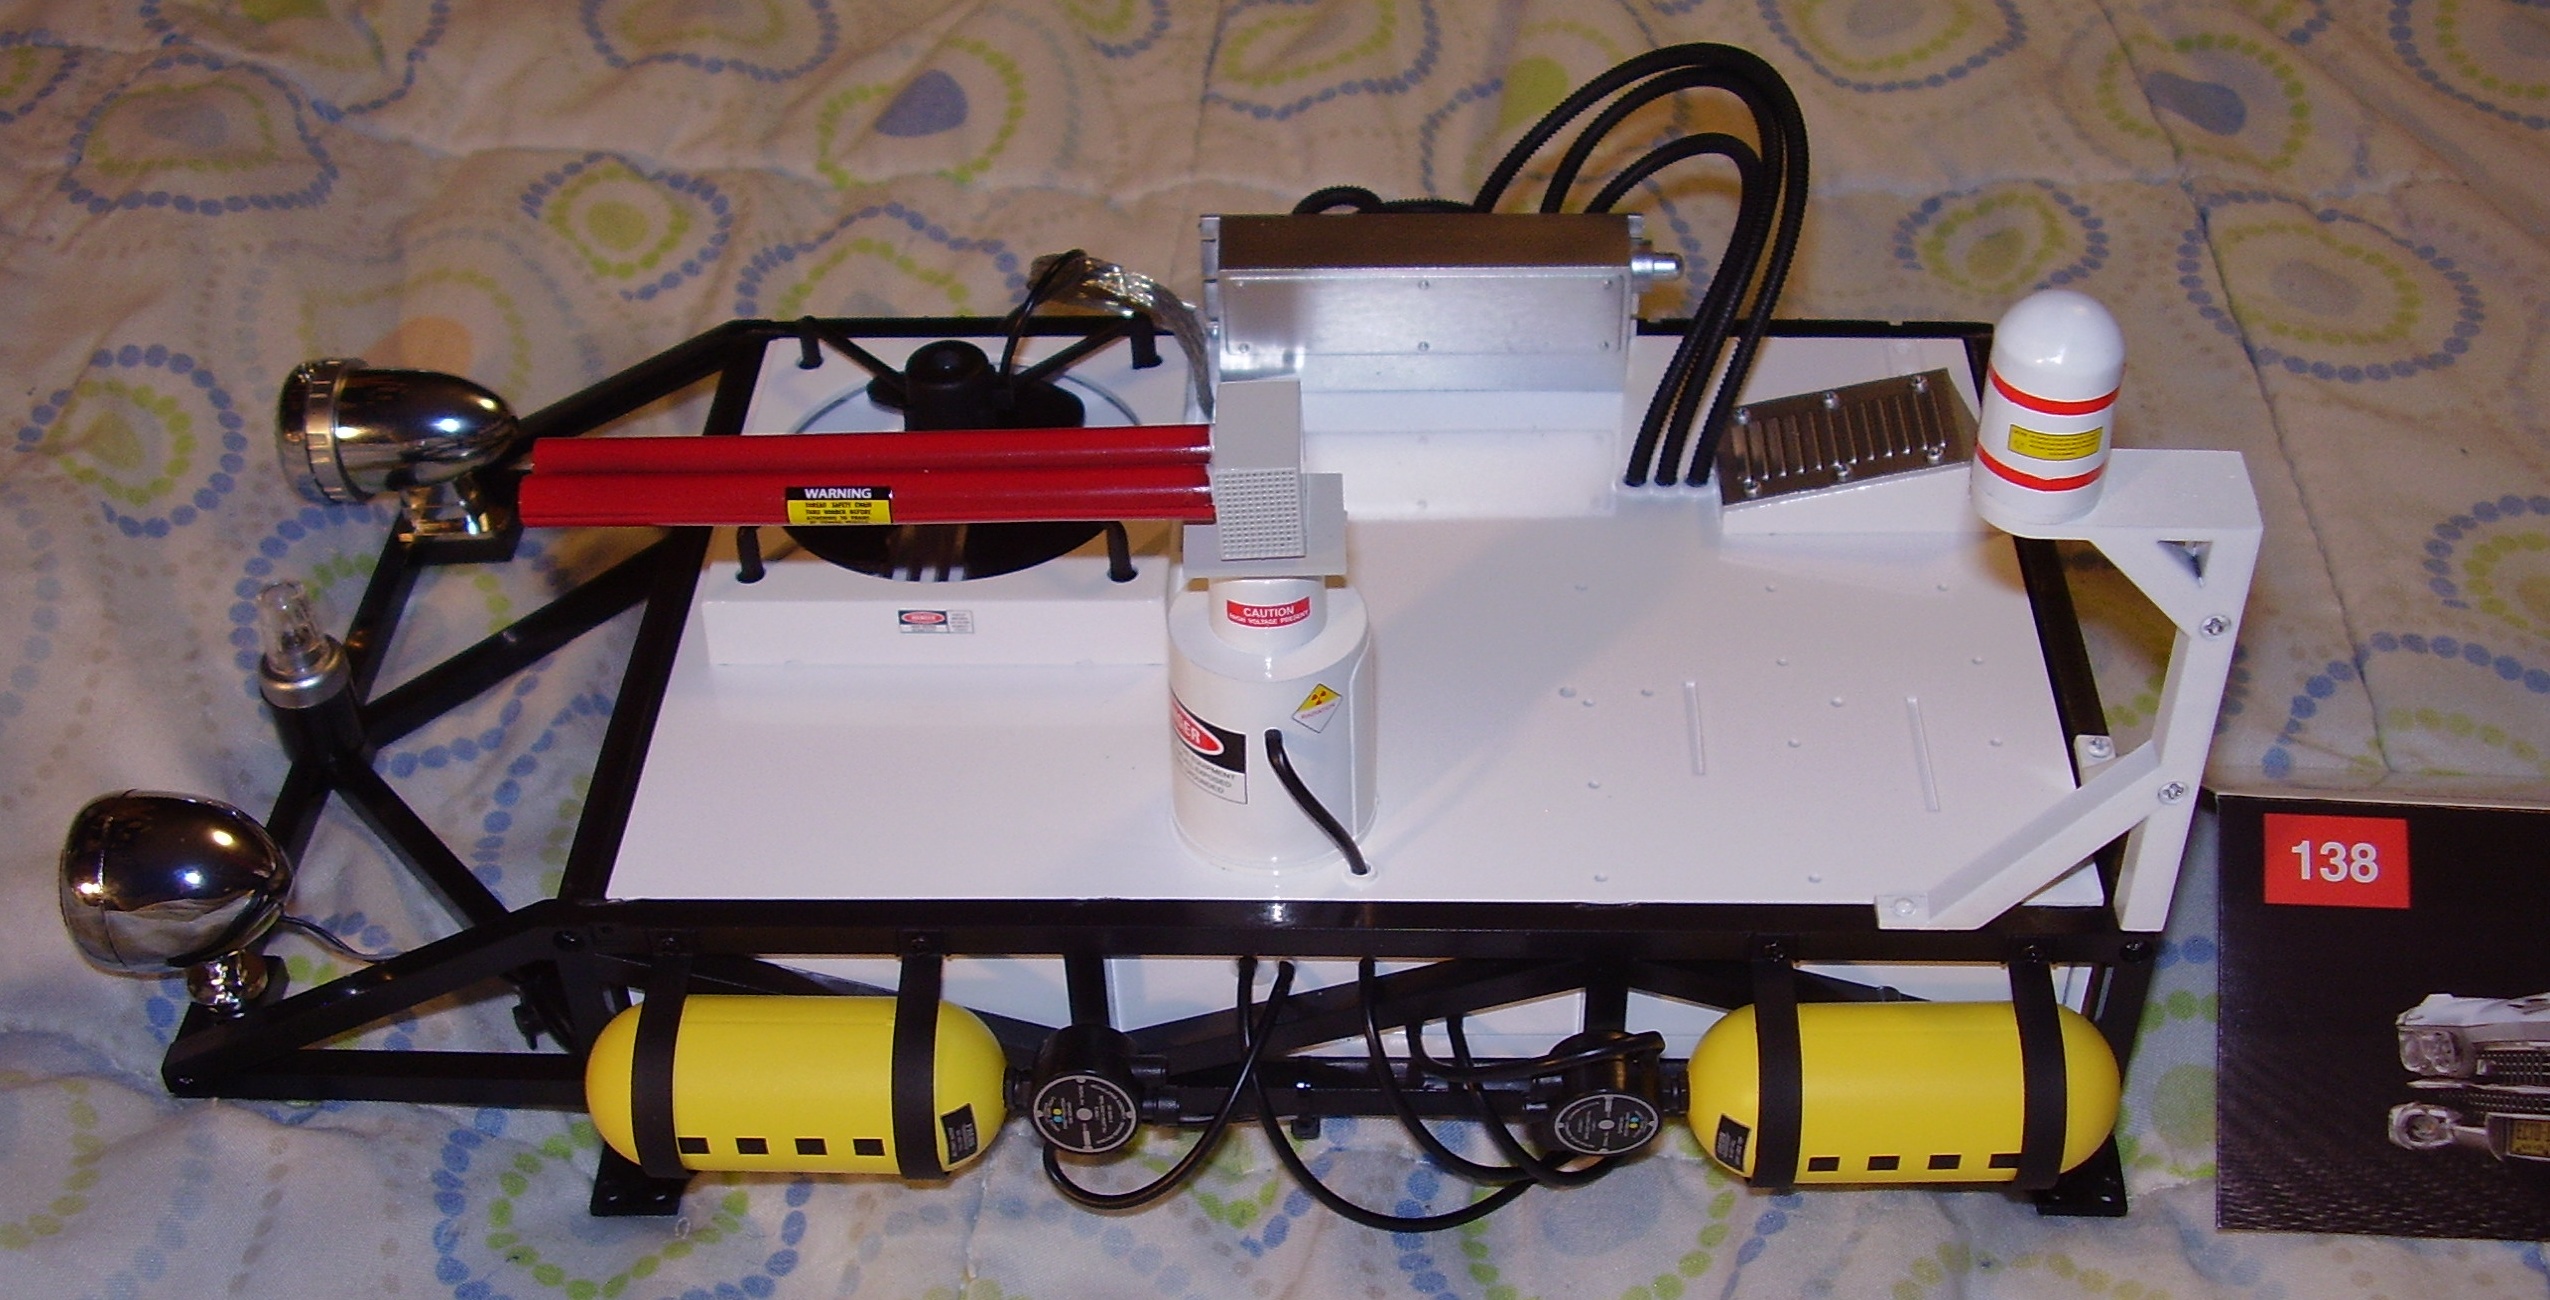
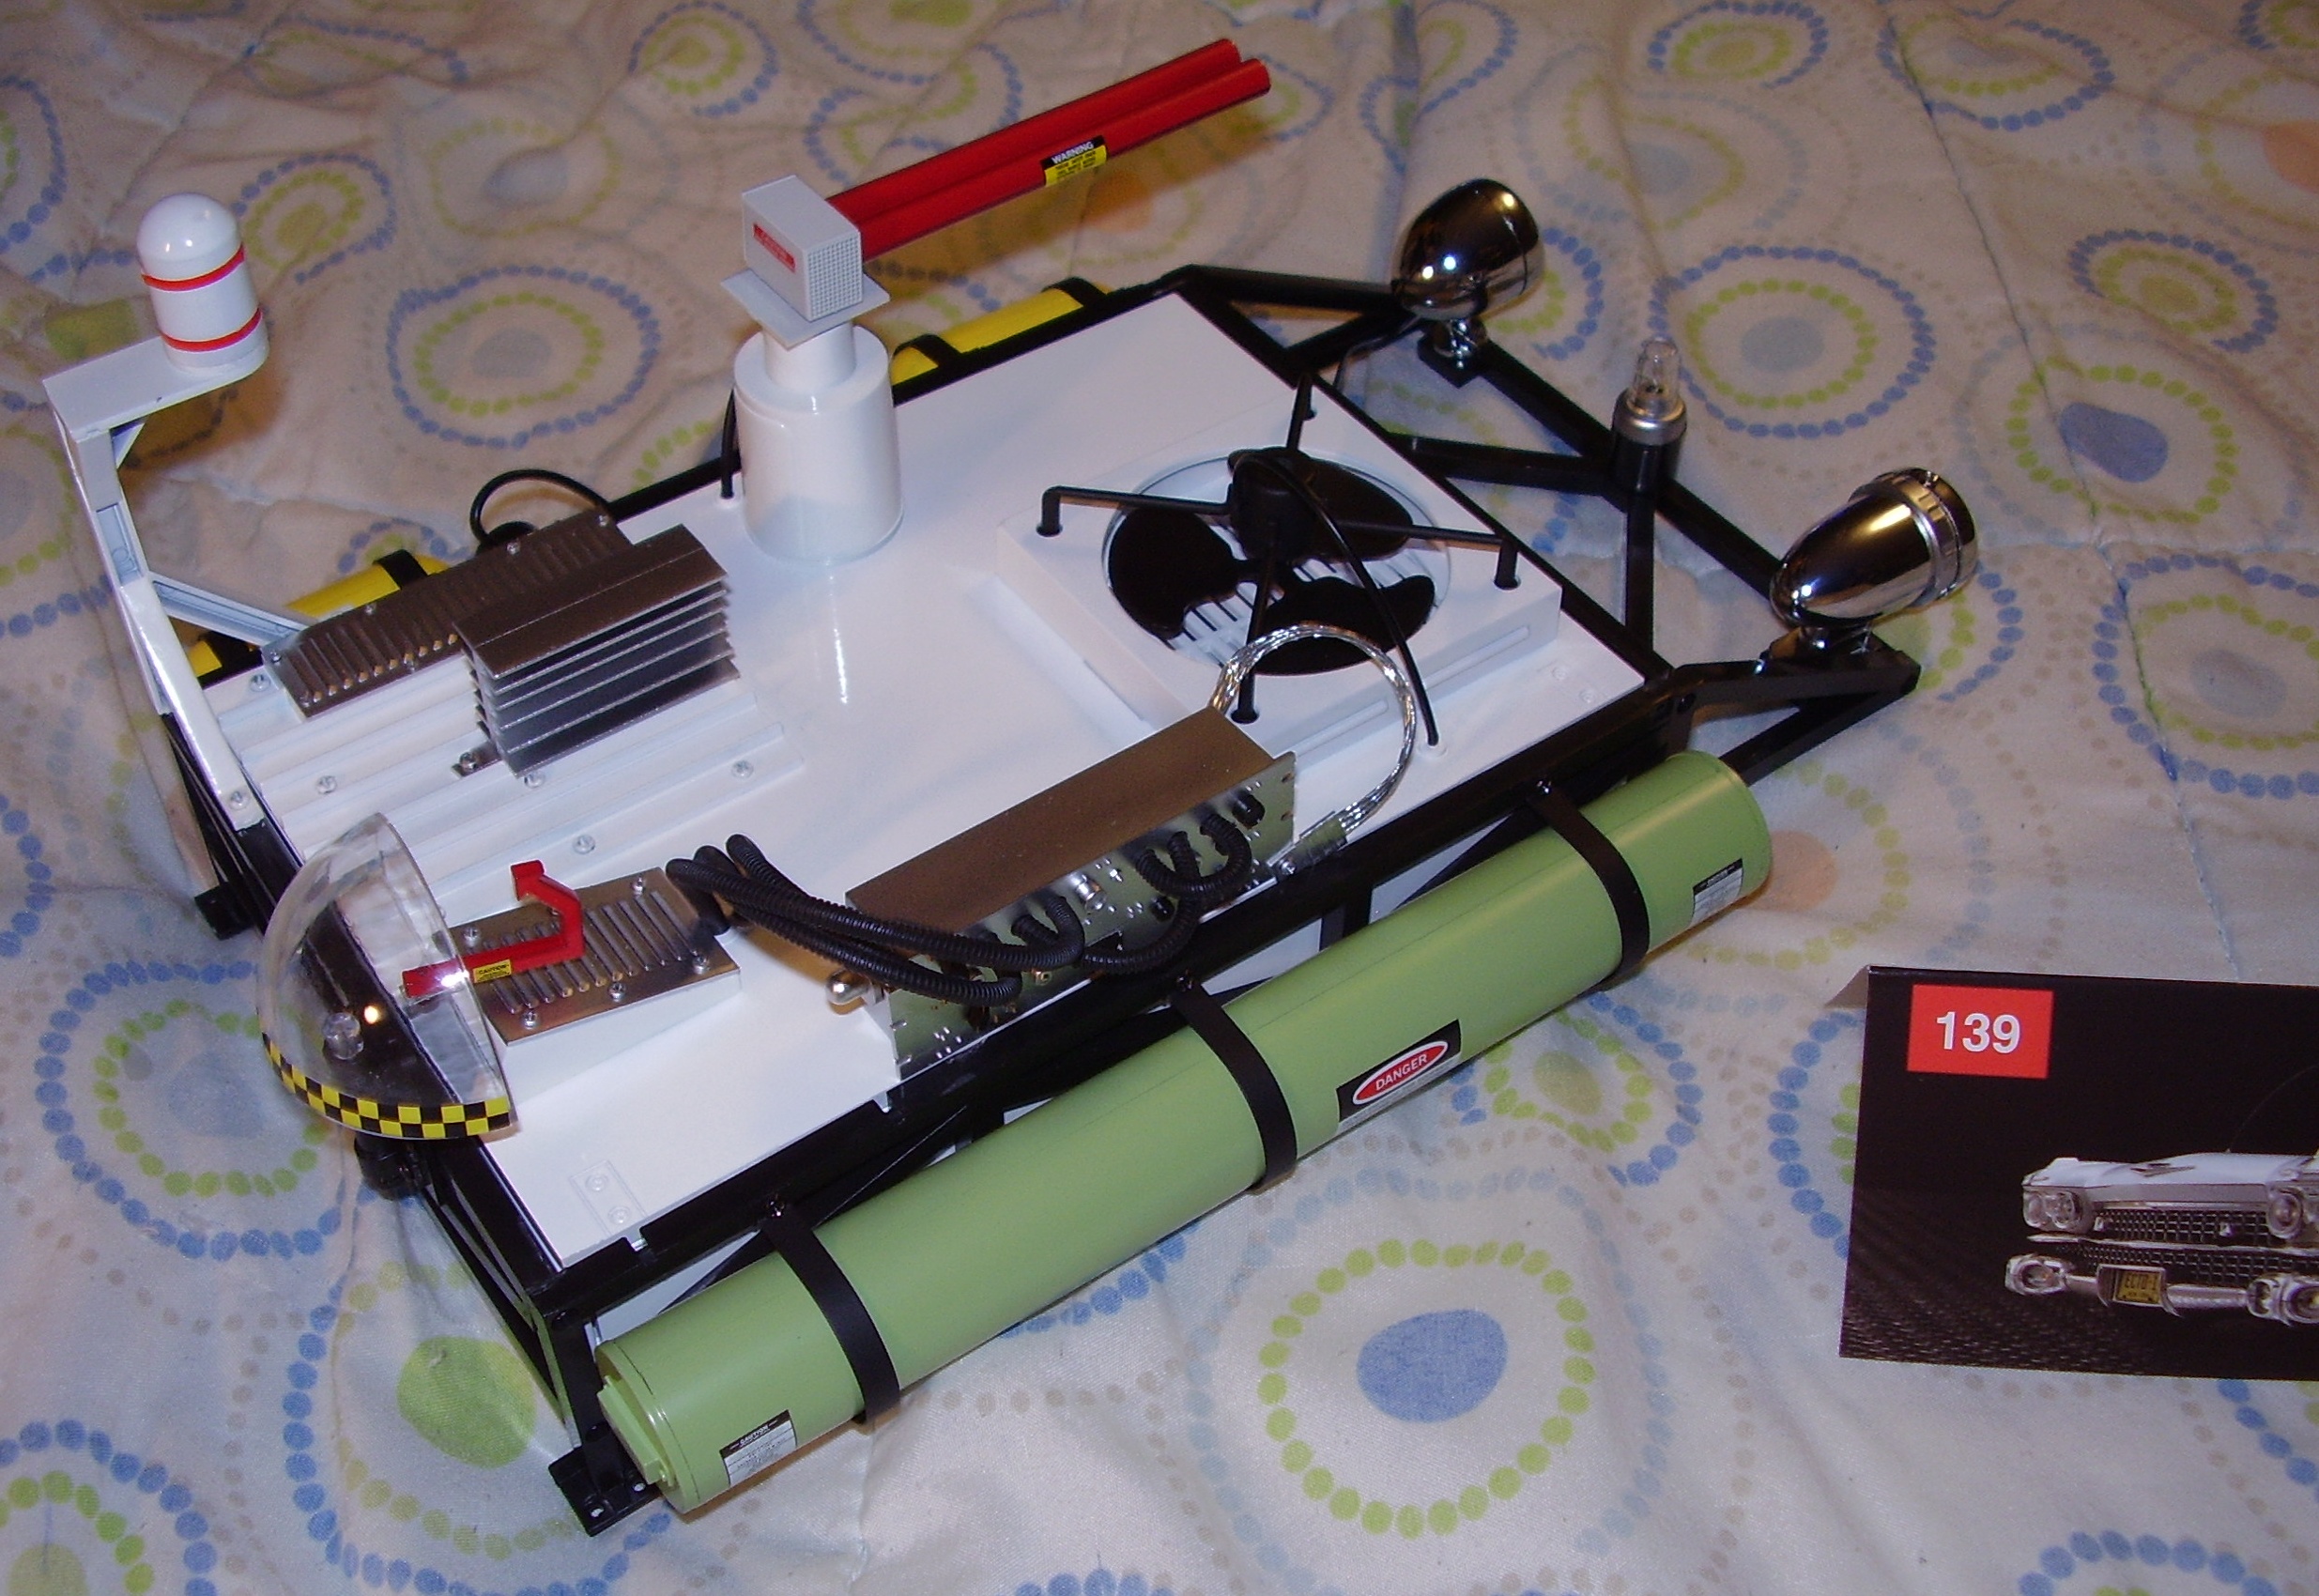
As this is a "Photo Diary", there won't be much in the way of text for the bulk of this. The photos, which can all be enlarged, will speak for themselves. I am only going to chime in with a comment on the two stages that have secondary photos. If you are building this model, some resources that may be of use are my magazine downloads and MarvelPhx's My Ecto-1 site (HIGHLY RECOMMENDED). While I prefer the text and photos on MarvelPhx's site, if you prefer video instructions, I heard that World of Wayne's videos are good.
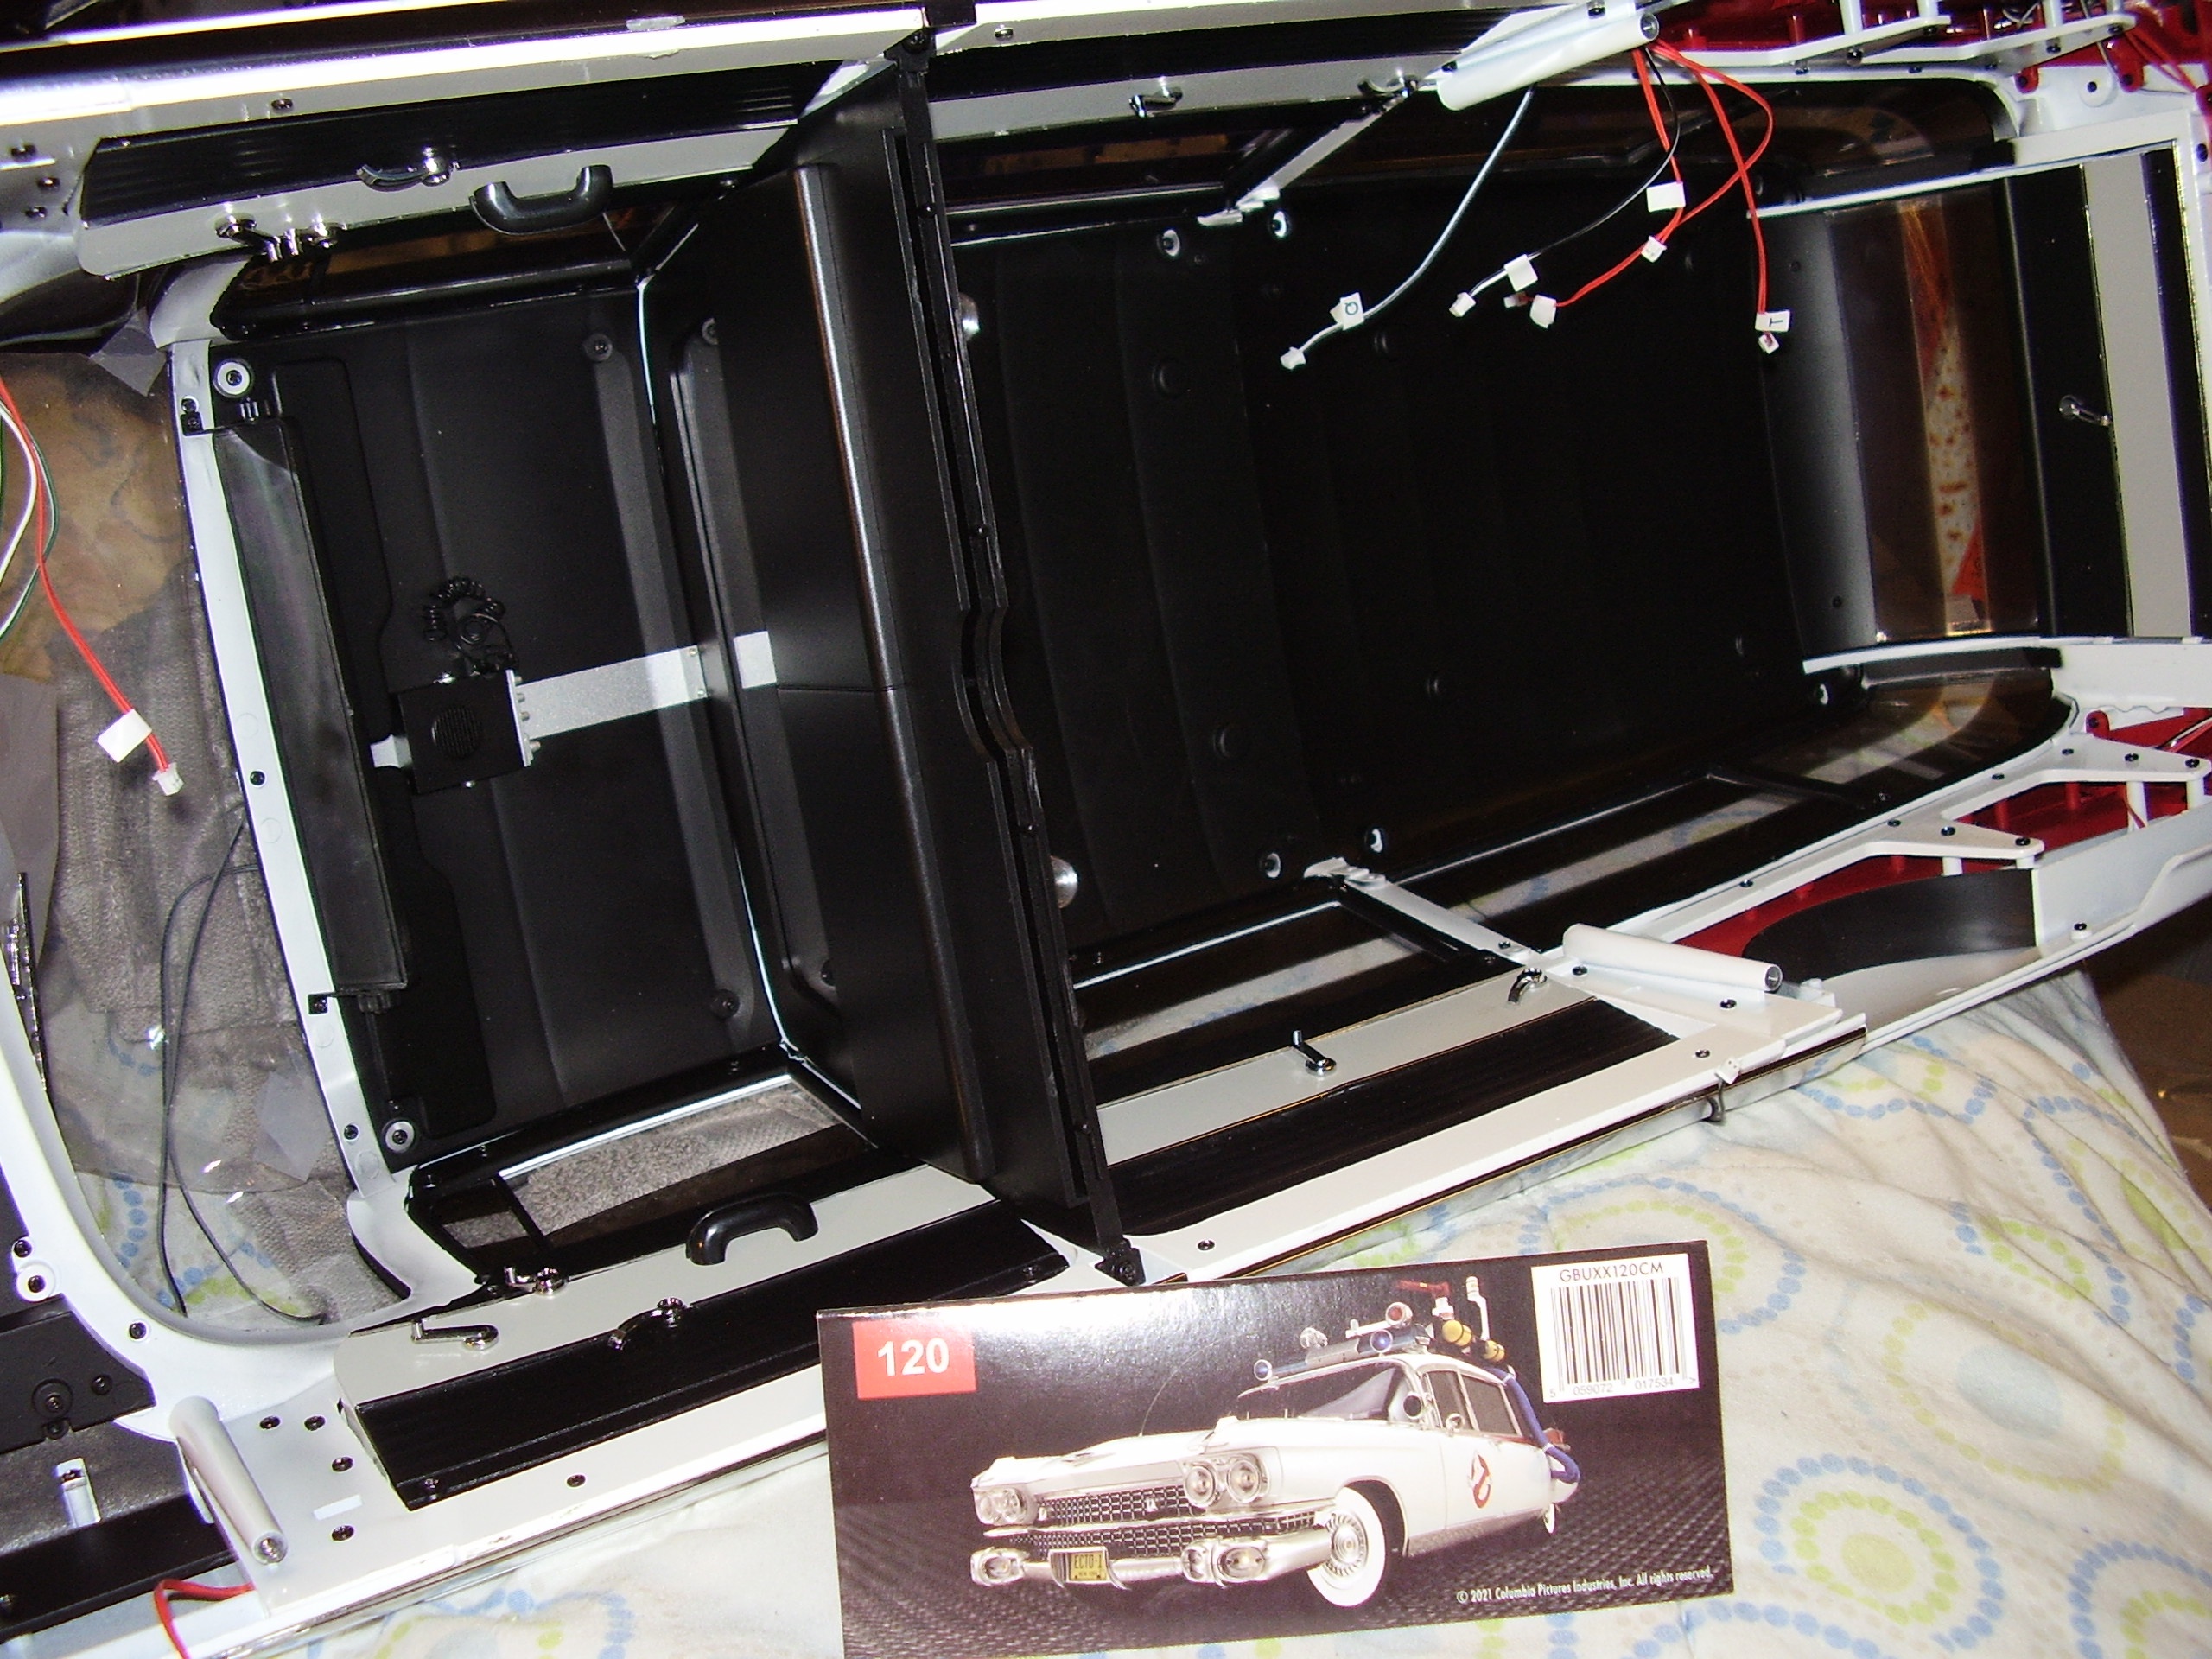


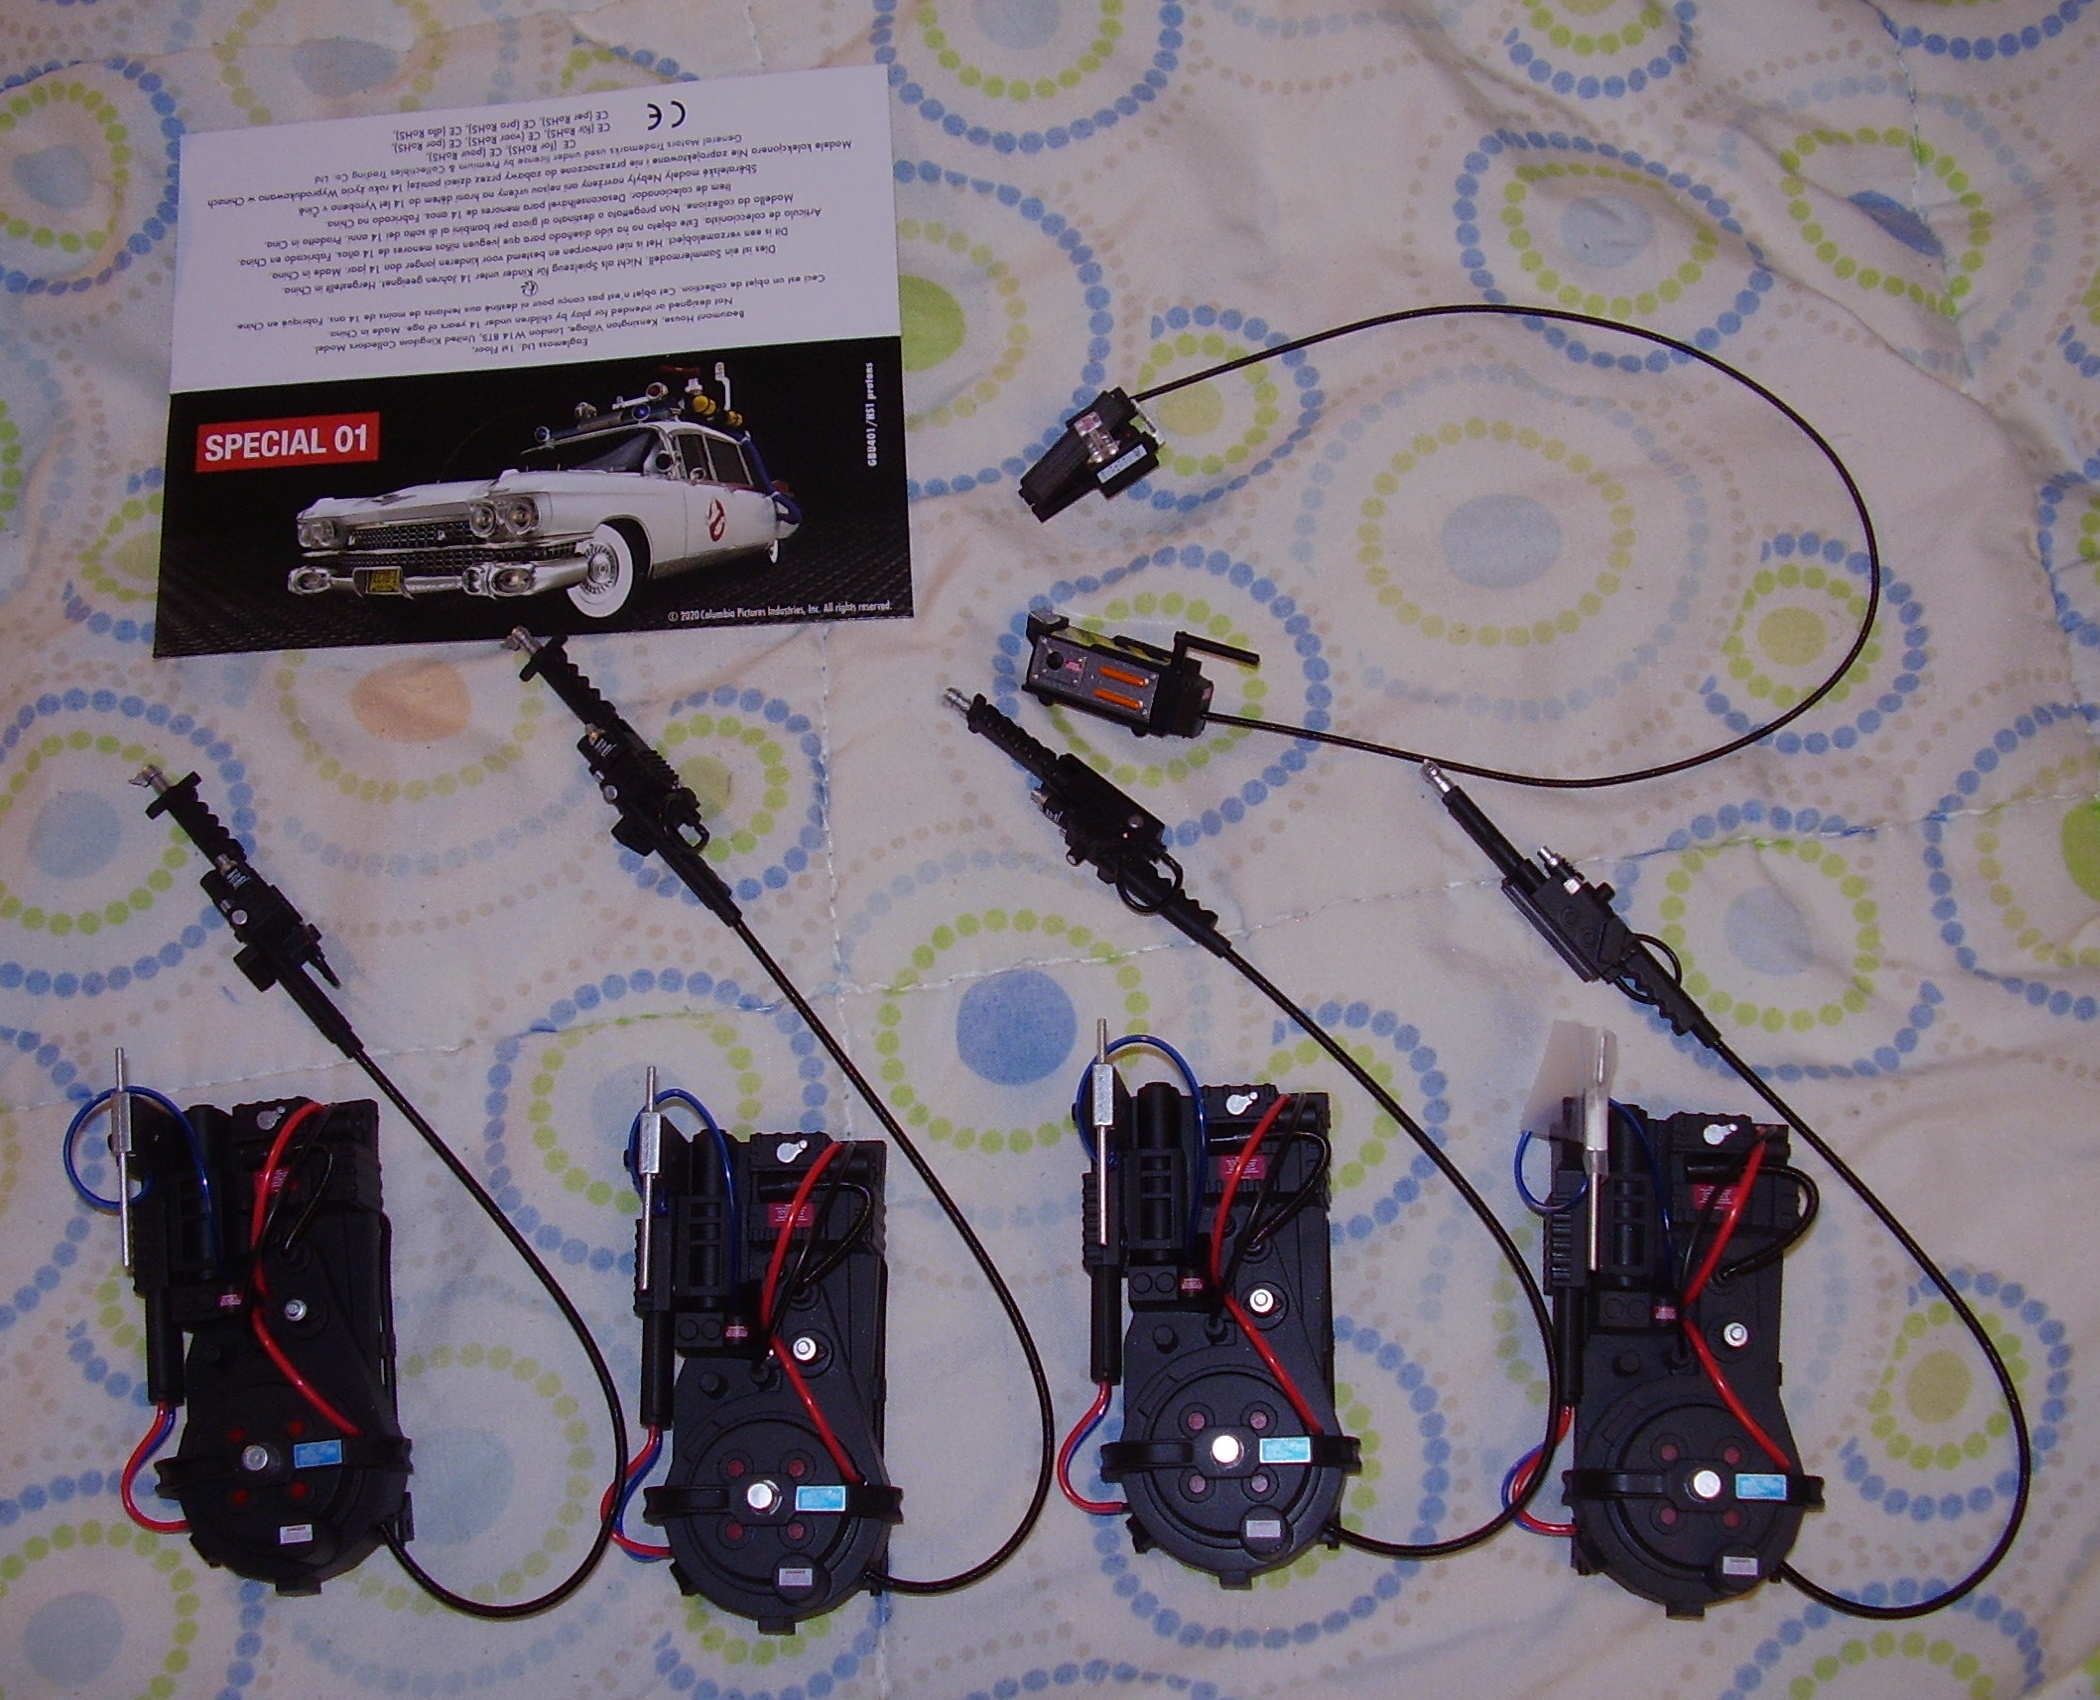
This final photo is of the "Special" stage, which includes four Proton Packs and one Ghost Trap, that can be stored inside the Ecto-1. This stage is NOT included by default in the subscription, and is offered early on at an extra cost. At least it was when Eaglemoss was running things. Fanhome is NOT offering this stage, whether optional or not.
So, here we are at the conclusion. It's taken nearly six years to get here, from the unboxing review of Issues #1 & #2 on April 18, 2020 to today's final build photo diary entry on January 10, 2026. It's been quite a ride, with Eaglemoss going out of business, followed by a year of uncertainty before DeAgostini picked it up, and it taking OVER FOUR YEARS for me to have all of the parts to even put this together. As if that wasn't crazy enough, in the year and a half that it's taken me to assemble this model from start to finish, DeAgostini is NO LONGER OFFERING IT FOR SALE! They acquired it in 2023, and by October 2025, their website says that this item is no longer available. So, a review is rather moot at this point, but I started this, so I might as well finish it. Also, the comparable 1:6 scale Blitzway Ecto-1 that I will be referencing in my review is also no longer available. For the sake of presenting my review as originally intended, I will keep these outdated references.
THE QUICK REVIEW: While a detailed review is below, the short version is: DO NOT BUY THIS ITEM!!! I cannot stress that enough. It has been an absolute nightmare to assemble and is grossly overpriced! It costs roughly $2,300 in total (possibly more if my calculations were wrong), has to be assembled in excruciating detail, and takes 3 years to obtain in its entirety (36 packages at one a month). Meanwhile, Blitzway released a comparably-sized (1:6 scale) Ecto-1 at a MSRP of $1,390, which comes mostly pre-assembled (it seems that you only have to put things on the exterior of the car), and arrives immediately. Only a masochist would buy this Eaglemoss/Fanhome Ecto-1.
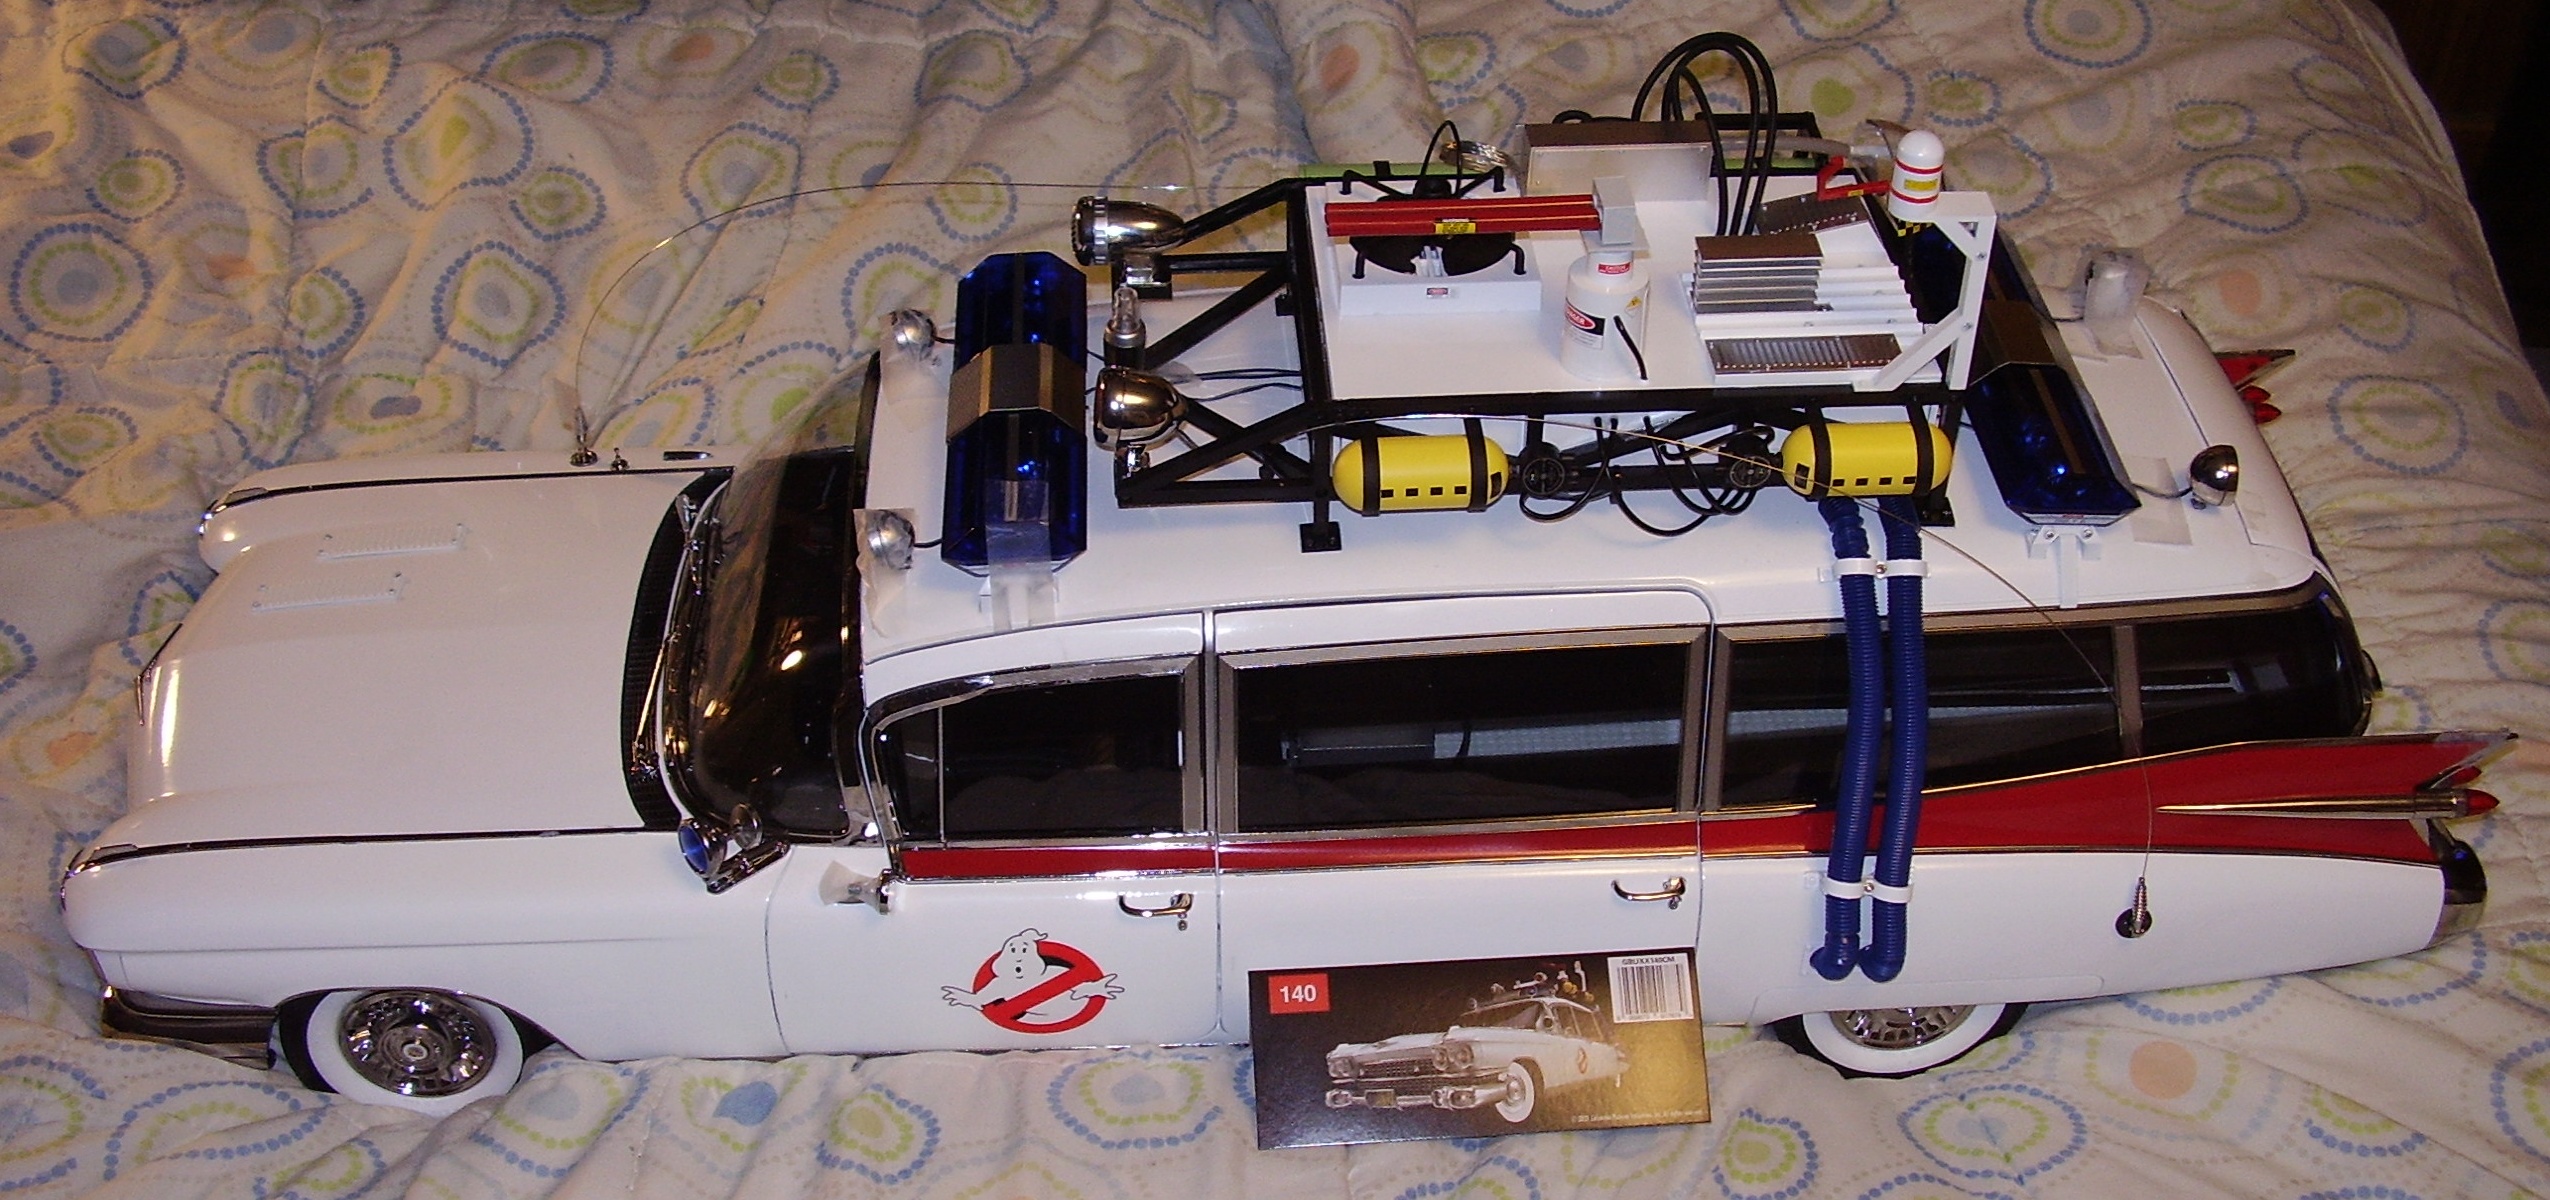
The Eaglemoss/Fanhome car is 1:8 scale, which makes it HUGE! The final length, width, height, and weight is 31" long, 10" wide, 13" tall, and it weighs about 30 lbs. Since the Blitzway Ecto-1 is in the larger 1:6 scale, it is even heavier. Blitzway's site gives the dimensions in millimeters and the weight in kilograms, and when converted, I get 45" long, 17" wide, 21" tall, and it weighs about 43 lbs. (assuming weight is the same as their Afterlife Ecto-1). DAMN!
• While I can't speak for the Blitzway Ecto(s), I can tell you that the Eaglemoss/Fanhome Ecto is poorly designed and very poorly planned out. You start off putting together some random pieces, like the hood, the front grill & headlights, and the left front tire, even though none of those parts are needed until much later. So the parts just sit around and you have to make sure not to lose them. I suspect that these parts are introduced at the start because Eaglemoss wanted something that looks like the Ecto-1 so they could hook you into buying more of this model.
• While I have not done an exact count, I surmise that this model is comprised of over 1,000 pieces (plus lots of tiny screws) in 140 parts sets.
• The parts are only numbered in the instruction manual. They are not numbered in the trays that the parts come in. (These trays are so much plastic waste.) Furthermore, the instructions will say something like "insert the carburetor J1 into the exhaust fan J2", but that doesn't mean a damn thing to me since I'm not a car guy. It's even worse when it references a part that I inserted several stages ago and then expects me to remember by the car part name what that part is. Initially, I was following the instructions from the digital copies of the magazines because I want to keep the physical magazines in good shape and I don't need more physical clutter as I assembled this. Unfortunately, they don't include high resolution illustrations, so zooming in to try to see details is useless. Sometimes it's a bit of a guessing game to figure out where I'm supposed to be attaching parts or screws. That's why I HIGHLY RECOMMEND MarvelPhx's My Ecto-1 site to be used to supplement the original instructions.
• Several times you will be told to undo parts you've already assembled, including the entire rear left wheel! There are external lights and mirrors that you are instructed to put on way too early in the process. As a result, they will easily get broken off later when you are told to lay the model on top of them! They could have been designed as snap-in pieces to be put on near the end, instead of screw-in pieces from underneath or inside.
• There are details on the model that should have been single pieces or shouldn't have even been something to assemble. When I think of assembling the Ecto-1, I don't think of snapping in microscopic little switches or a microphone into a radio or making a telephone handset. It seems like there's an unnecessarily large amount of parts in order to have more parts to sell. This should have been a much simpler thing to put together.
• The wiring for the electronics should have been greatly simplified. Instead of a dozen little plugs grouped up in the front and back, everything on the top should have went into one circuit board, and everything on the bottom should have went into one circuit board. Then one wire runs between the two circuit boards as the only wire connecting top and bottom. This would be better than the set up of a dozen wires that could easily break, get caught in parts of the car, and/or come apart (it happened to me when I had to pull apart wires in the front).
• A short screwdriver is provided in the first stage, tweezers are provided a little bit later when you get the first of the little tubes, and a longer screwdriver (with a smaller head) is given with Stage 73. All should have been given in Stage 1 since the first screwdriver is not long enough to finish Stage 54.
• There are many many instances where they will have you put on parts later than is practical. They'll tell you to put on a tube or screw something in after you've already put other parts in the way. They expect you to somehow manipulate your fingers, the parts, and the screwdriver or tweezers, into these tight nooks and crannies when they should have had you do those parts earlier.
• There are so... many... freaking... tiny little tubes that have to be inserted into all these little pins all over the place. They don't give you the hints and tips on how to best insert the tubes until many stages after they're first introduced, and even holding them about 5mm from the end using the tweezers, doesn't help all of the time. The biggest issue with these tiny tubes is that THEY ARE COSMETIC ONLY! They are supposed to represent wires and tubes and whatnot on the actual car, but on the model, they don't serve a function other than being cosmetic. It's not like they control any lights or sounds or anything like that. The pin pricks are very prone to being broken off. Two of them on the "spark plugs" broke off while I had to flip the model over to screw things in from underneath. Super Glue has been my best friend in putting a lot of this together :-)
• Stage 38 contains a bunch of electrical wires which are all (seemingly) mislabeled from B through H, even though in the instructions they're labeled A through G! (As I would find out later, the wires were actually properly labeled, in regards to the other wires labeled A through G [or whatever] they connect to later. However, at the stage they are originally given, the letters on the wire tags don't match the part numbers. Again, more proof that this model was poorly planned out by Eaglemoss.) To add insult to injury, only one of these wires is actually assembled in this step. The rest of them are not used until later. This is a reoccurring annoyance with this model. They give you parts that you won't need until later, so you have to make sure you don't lose them. Keep in mind, I put this all together with all parts already in my possession. Normally, they want you to assemble this a few steps at a time every month or so. They want you to not lose lose parts for months on end.
• Stage 60 is hard to do due to having to insert five screws into tight crevasses that the included first screwdriver can't reach. That's where Super Glue comes in handy. As long it's not a moving part, Super Glue does wonders for a lot of this model.
• One of the knobs for Stage 60 was missing. There were only five on the sprue, not six. One must have fallen off during manufacturing.
• On Stage 66, I tested the electronics. Most everything worked, though one button got stuck, so it can't be used anymore. As such, there is no more engine sound. I only got to use that once.
• As seen on Stage 68, there are some nice details, such as the vehicle serial number and information plate. There are tiny buttons on the dashboard that probably do things similar to what they do on the real car.
• Stage 69 has you disassembling part of the front grill that you assembled many stages earlier. Why did they have you assemble this just to disassemble it later? Again, this model was not very well thought out.
• The Hood and Hood Trim from Stage 1 aren't even used until stage 71!!! Why not just give them in Stage 71? Oh, because they wanted to give you some parts up front that looked like the Ecto-1 to try to hook people into buying more of these parts. As such, you have to keep these parts for half of the build, making sure not to lose them.
• On Stage 95, on my right rear door, the handle was made a little too short. I had to stretch it with a wrench, while trying not to break it, in order to get it to fit.
• The silver skirting on the windows is done with little adhesive strips that, because they need to bend, don't stay on at the corners. This makes the whole thing look like cheap garbage. The skirting should have been pre-printed as part of the window frames and not be a separate piece that you stick on.
• The steering wheel parts from Stage 36 aren't even used until Stage 114. Why give them so early? It just means another thing you have to hold on to and make sure you don't lose. On top of that, the steering wheel indicator stalk they give you in Stage 36 is replaced by a different part in Stage 114. I don't know what the reason is for the new version of the part, but it's yet another example of things that you put together and then have to undo later. This new piece has a foam spacer and a different stalk.
• In Stage 121, when you're marrying the top and bottom of the model together, they want you to take off the rear left wheel in order to better hide the wires and put on the rear left inner fender, even though the wheel is put on with a logo cap that is not meant to be taken off and is hard to remove. It's better to just ignore that step and not put on the inner fender at all. Nobody will see it anyway.
• Stages 133, 134, and 139 have small waterslide decals. I hate these types of decals. It was never stated that these types of decals would be included at any point in this model. These should have been pre-printed on the parts, as so many other decals already are. There are so many annoyances with this model.
Well, that's my bullet-pointed review (notes) from the nightmare of assembling this model. I finally had all of the parts in July of 2024, and shortly thereafter, I started the assembly in earnest by putting together one of the proton packs and ghost trap from the "Special" issue - and I broke the ion arm on the pack! (I only assembled one of the four packs at that time.) After that, I really wasn't looking forward to assembling the full model. Now that I have finally finished it, I was quite justified with my fear and hesitation.
As I was putting this car together, parts kept breaking off because the assembly instructions were not very well thought out. As I carried it upstairs to put it away in storage, both antennas broke off. Honestly, it's too big and too freaking heavy for its own good. It's that 30 pound weight that really kills it because I can barely lift the damn thing. I have it upstairs in a big giant box. If I ever had to move, I'll probably have to leave it behind because it's just too impractical to move around, and undoubtedly, more parts will break off in the process.
The electronics don't really work, but I don't know if that was because the batteries I used (at the end) had low power, or if wires came loose when I put the top and bottom together. Midway through the assembly, when I first hooked up the wires, the headlights, the tail lights, the ceiling lights, and everything worked; though the button for the engine noise is now pushed in and can't be used anymore. When I tested it at the end, the only parts that made their presence known were the loud rotary lights in the light bars on the roof.
I'm sure that, in several of my photos, you can see that I put Scotch tape on several things. I couldn't even get Super Glue to hold things in place. It looks good from afar, and that's the only good thing I could say about it. At least I have the 38 magazines and all of the other goodies they gave along with it.
For some reason, I have several unopened extra parts sets and magazines. I don't even remember getting so many duplicates. I've put those up for sale, along with all of the extra spare screws, and a few other spare parts, in case anybody might need them. Speaking of... Anyone want to buy a very large, very heavy, very broken Ecto-1?
No feedback yet
Leave a comment
Established August 1996


(Ghostbusters Amazon Store)

Please be aware that as an Amazon Associate, I earn a very tiny commission from purchases made though the Amazon links on this site.
|
COMMUNITY LINKS
NEWS • Ghostbusters Wiki • GB News • GB Fans • Ghostbusters Mania • GB Reboot Facebook • Proton Charging News Archive FORUMS • GB Fans • EctoZone OFFICIAL • Ghost Corps Facebook • Ghostbusters Facebook • Ghostbusters YouTube • Ghostbusters.com |


[ MORE TRIBUTES ]

( MY COMPARISON REVIEW )
( AVOID SHIPPINGEASY/STAMPS.COM )


U.S. eBay (Ghostbusters stuff)
U.K. eBay (Ghostbusters stuff)
AWARDS I'VE WON

